Table of Contents
Dreaming of a laundry room that's both functional and fabulous, but your basement feels more like a dungeon than a design haven? Don't despair! This guide is your key to unlocking the potential of your unfinished basement space with exciting DIY basement laundry room projects. We'll walk you through every step, from the initial planning stages—choosing the right flooring, flooring options are key!—to the final touches that will transform your laundry area into a space you'll actually enjoy. We’ll cover essential DIY projects like installing efficient shelving (shelving ideas are a must!), improving ventilation (ventilation is crucial!), and even adding stylish decor. Whether you're working with a small space or a larger area, we'll provide practical tips, budget-friendly ideas, and inspiring examples to help you create the laundry room of your dreams. Get ready to roll up your sleeves and unleash your inner DIY expert—your dream basement laundry room awaits! Let's dive into these DIY basement laundry room projects and make your laundry day a little less…blah.
Planning Your DIY Basement Laundry Room: From Dream to Reality

Planning Your DIY Basement Laundry Room: From Dream to Reality
Assessing Your Space and Setting a Budget
Before you even think about paint swatches, grab a measuring tape and start taking inventory of your basement laundry area. How much space do you *really* have? Consider the dimensions, any existing plumbing, and the location of electrical outlets. This will be your blueprint for success. Don't forget to check for any potential issues like dampness – you might need to waterproof before you start! Next, set a realistic budget. DIY projects can save you money, but unexpected costs can pop up. Knowing your financial limits upfront helps prevent project paralysis. Start small if you need to, maybe just focus on organization first.
Item | Estimated Cost |
|---|---|
Paint | $30-$75 |
Shelving | $50-$200 |
Flooring | $100-$500+ |
Choosing Your Style and Functionality
Now for the fun part: designing your dream laundry room! Browse through magazines, websites (like this one!), and Pinterest for inspiration. What style appeals to you? Modern minimalist? Rustic charm? Do you want a space that's purely functional, or are you aiming for something more aesthetically pleasing? Think about your workflow: do you need lots of counter space for folding? Extra storage for cleaning supplies? A place to hang clothes? The answers to these questions will inform your design choices. Consider adding some extra lighting too, check out lighting solutions for ideas!
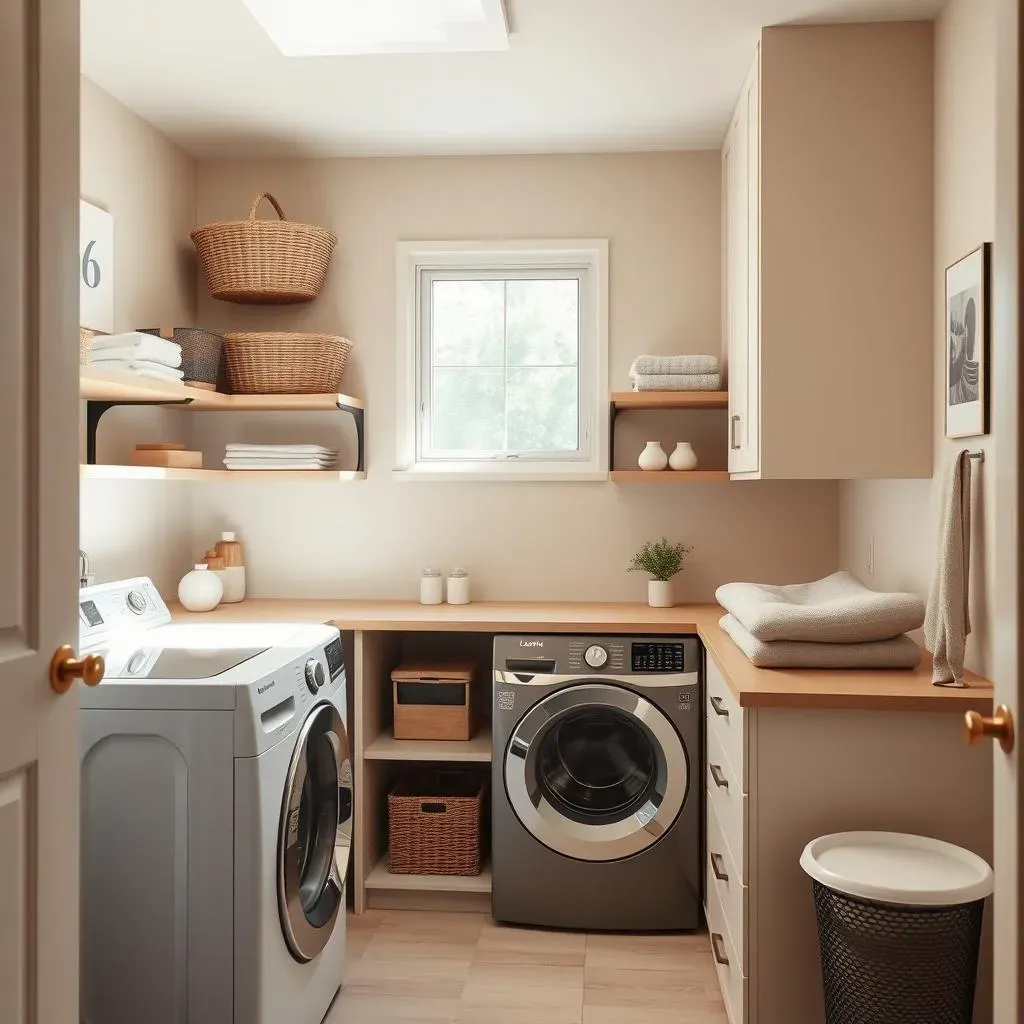
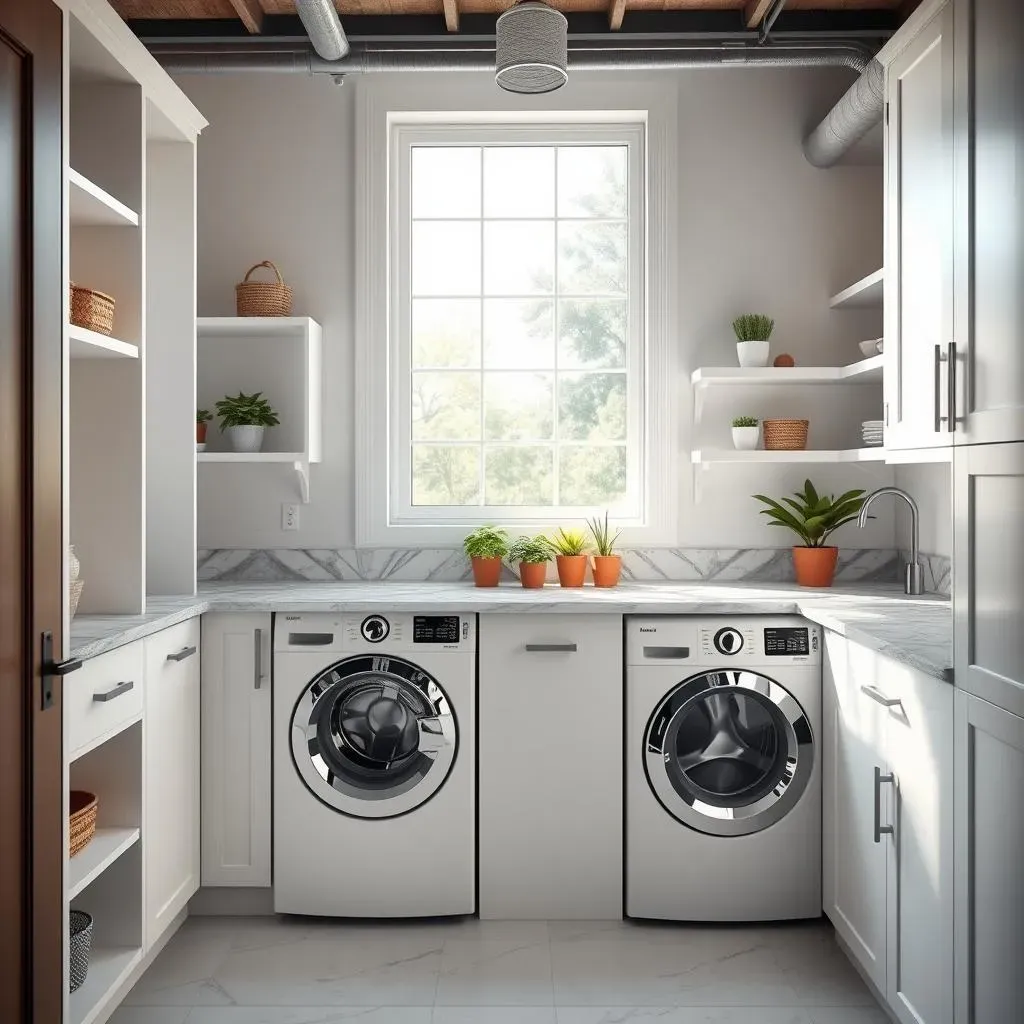
- Maximize vertical space with shelves.
- Use baskets and bins for organization.
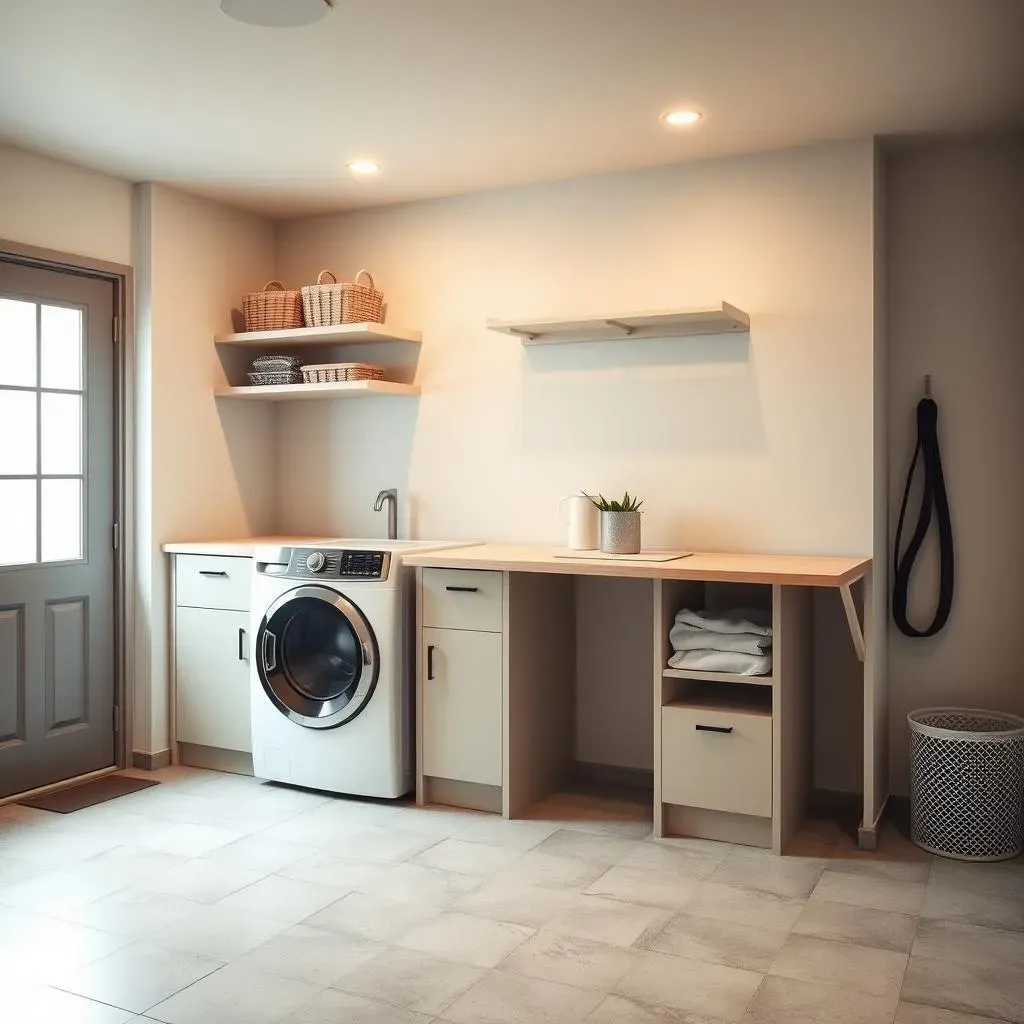
- Incorporate a folding counter or island.
Gathering Your Tools and Materials
Before you start demolition (if any), make a comprehensive list of all the tools and materials you'll need. This might include paint, brushes, screws, a drill, measuring tape, level, and whatever materials you choose for your flooring and shelving. Don't underestimate the importance of having the right tools; it can save you time and frustration in the long run. If you’re tackling a bigger renovation like finishing the basement completely, check out our guide on finishing your basement laundry room for a more in-depth look. Also, don't forget safety gear like gloves and eye protection!
Essential DIY Projects for a Functional and Stylish Laundry Room

Essential DIY Projects for a Functional and Stylish Laundry Room
Let's get our hands dirty with some truly transformative DIY projects! First up: shelving. Custom shelving is a game-changer. It maximizes space and lets you tailor your storage to your exact needs. Think deep shelves for bulky items, shallow shelves for folded clothes, and maybe even pull-out drawers for easy access. You can build your own shelves from scratch, or buy pre-made units and customize them with paint or contact paper. For inspiration on different shelving styles, check out our guide on basement laundry room shelving. Next, let's tackle lighting. A well-lit laundry room is a happy laundry room. Poor lighting can make even the most organized space feel cramped and gloomy. Consider adding recessed lighting, track lighting, or even just a stylish new pendant light. Don't forget to check out our lighting solutions for more ideas!
- Install custom shelving for maximum storage.
- Improve lighting with new fixtures or bulbs.
- Add a folding counter for extra workspace.
Another fantastic DIY project is adding a folding counter or island. This simple addition dramatically increases your workspace and makes laundry day much more efficient. You can build one from scratch using inexpensive materials like plywood or reclaimed wood, or you can repurpose an old table or dresser. If you're on a tight budget, even a simple shelf attached to the wall can provide a useful folding surface. For more ideas on creating an attractive and functional space, have a look at our article on decorating your basement laundry room. Finally, don't underestimate the power of a fresh coat of paint! A new color can completely transform the look and feel of your laundry room. Choose a color that brightens the space and complements your overall style.
Project | Estimated Time | Estimated Cost |
|---|---|---|
Shelving | 4-8 hours | $50-$200 |
Lighting | 2-4 hours | $25-$100 |
Folding Counter | 8-16 hours | $50-$150 |
Finishing Touches and LongTerm Maintenance

Finishing Touches and LongTerm Maintenance
Adding the Finishing Touches
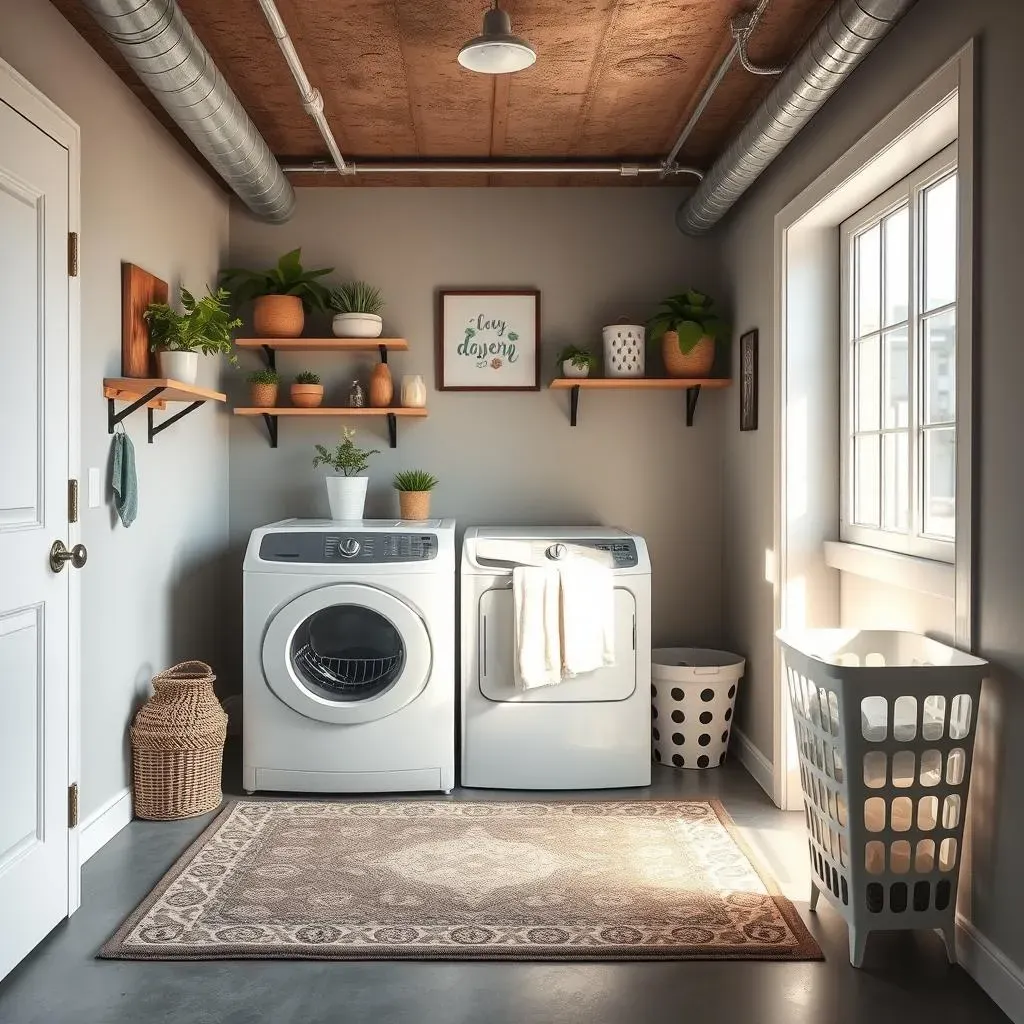
With the major DIY projects complete, it's time to add those finishing touches that truly personalize your space. Think about adding some decorative elements like a rug, wall art, or even some plants to brighten up the room. A fresh coat of paint can also make a huge difference; consider a cheerful color that complements your style and makes the basement feel more inviting. Don't forget the small details – new cabinet knobs, a stylish soap dispenser, or a cute laundry basket can all add up to a more polished look. For more ideas on how to add personality to your laundry area, check out our article on decorating basement laundry rooms. A well-decorated space will make laundry day a little less of a chore!
- Add a rug to soften the floor.
- Hang some artwork or photos.
- Incorporate plants for a touch of nature.
- Replace cabinet hardware.
Prioritizing Long-Term Maintenance
Now that your amazing DIY basement laundry room is complete, let's talk about keeping it that way! Regular maintenance is key to preserving your hard work. This includes regular cleaning, especially if you have a concrete floor. Sweep or vacuum regularly to prevent dust and debris from accumulating, and consider using a sealant to protect your flooring from spills and moisture. Remember that proper ventilation is crucial in a basement laundry room, so make sure your exhaust fan is working properly – see our guide on basement laundry room ventilation for tips. Regularly inspect your plumbing and appliances for any leaks or issues to prevent costly repairs down the line.
Maintenance Task | Frequency |
|---|---|
Sweep/Vacuum | Weekly |
Check Plumbing/Appliances | Monthly |
Deep Clean | Quarterly |
Addressing Potential Problems and Troubleshooting
Even with careful planning and execution, unexpected issues can arise. One common problem in basements is moisture. If you notice any signs of dampness, address it immediately to prevent mold growth. Proper ventilation and waterproofing are essential to combat moisture. Another potential issue could be insufficient lighting. If your space still feels too dark, consider adding additional lighting fixtures or switching to brighter bulbs. If you're struggling with organization, revisit your storage solutions; you may need additional shelving or better storage containers. Remember, a little preventative maintenance goes a long way! For more tips on tackling a variety of basement laundry room challenges, check out our complete guide on remodeling your basement laundry room.
