Table of Contents
Is your laundry room a chaotic mess? Piles of detergent, dryer sheets everywhere, maybe a rogue sock plotting world domination? You are absolutely not alone in facing that particular domestic challenge. It often feels like a lost cause, a room dedicated solely to the chore nobody enjoys. However, bringing order to that space is entirely within reach. A little strategic planning and some hands-on effort can transform it dramatically. We are specifically looking at tackling that often-underused vertical space with smart, practical **diy laundry room shelving ideas**. Adding shelves here is about more than just stacking bottles higher. It involves creating efficient systems, freeing up valuable floor space that probably collects lint and dust bunnies, and ultimately making laundry day feel marginally less soul-crushing. This guide will walk you through figuring out what kind of shelving fits your needs and space, explore popular DIY options, and provide the steps to get them installed. Ready to make your laundry zone functional, organized, and maybe even a place you do not actively dread entering? Let's get started.
Why Your Laundry Room Needs a Shelving Upgrade
Why Your Laundry Room Needs a Shelving Upgrade
Taming the Clutter Chaos
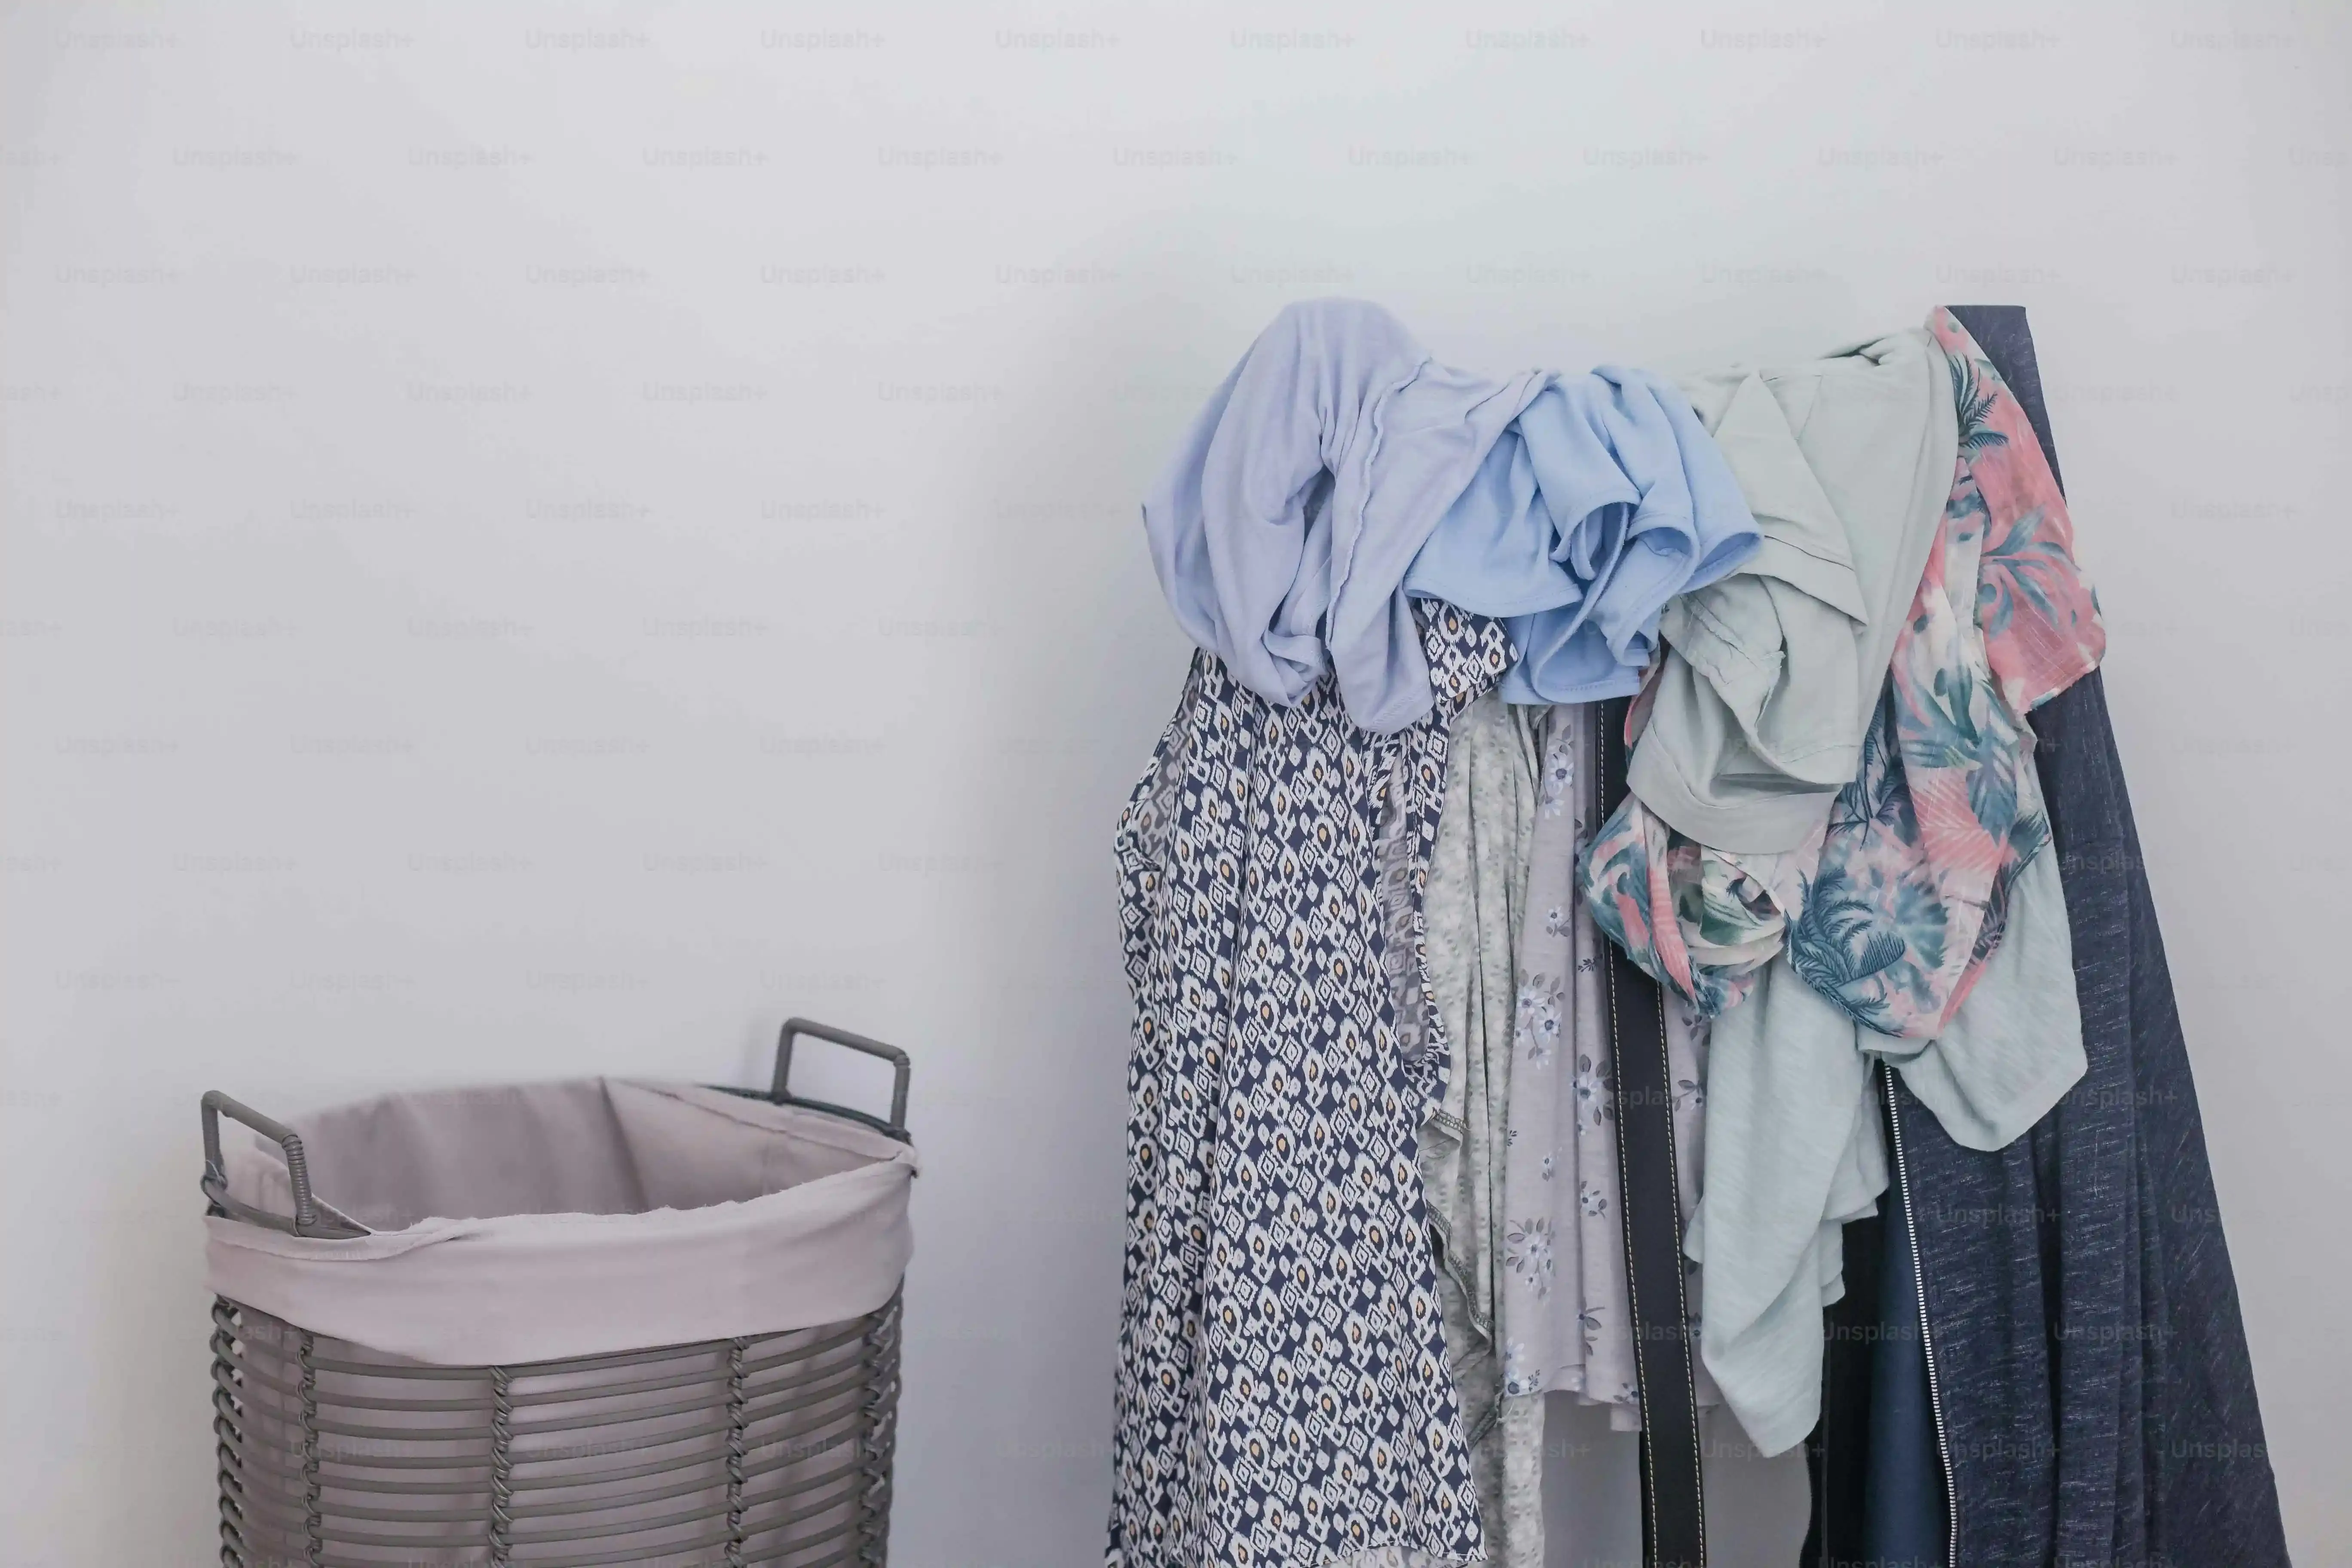
Let's be honest. Most laundry rooms start as a utility space and quickly devolve into a dumping ground. You throw in the hamper, maybe stash some cleaning supplies, and before you know it, bottles of detergent, fabric softener, stain removers, and dryer sheets are migrating across every available surface. This isn't just visually annoying; it's genuinely inefficient. Trying to find the right product in a jumble of plastic containers adds extra friction to a chore that's already low on everyone's favorites list. This chaos is a primary reason why considering **diy laundry room shelving ideas** isn't just a nice-to-have, it's a necessary intervention for sanity.
Reclaiming Your Space and Sanity
Adding shelving fundamentally changes the dynamic of your laundry area. Instead of everything sprawling horizontally, you start thinking vertically. This instantly frees up floor space, making it easier to actually move around without tripping over orphaned socks or spare hangers. More importantly, designated spots for everything mean you spend less time hunting and more time doing the actual laundry (or at least getting it started). An organized space feels less overwhelming, turning a formerly frustrating zone into something manageable, perhaps even pleasant. It's amazing what a few well-placed shelves can do for both the room and your mood while you're in it.
What's currently taking up the most space on your laundry room floor or countertop?
Popular DIY Laundry Room Shelving Ideas to Tackle
Popular DIY Laundry Room Shelving Ideas to Tackle
Finding the Right Fit for Your Space
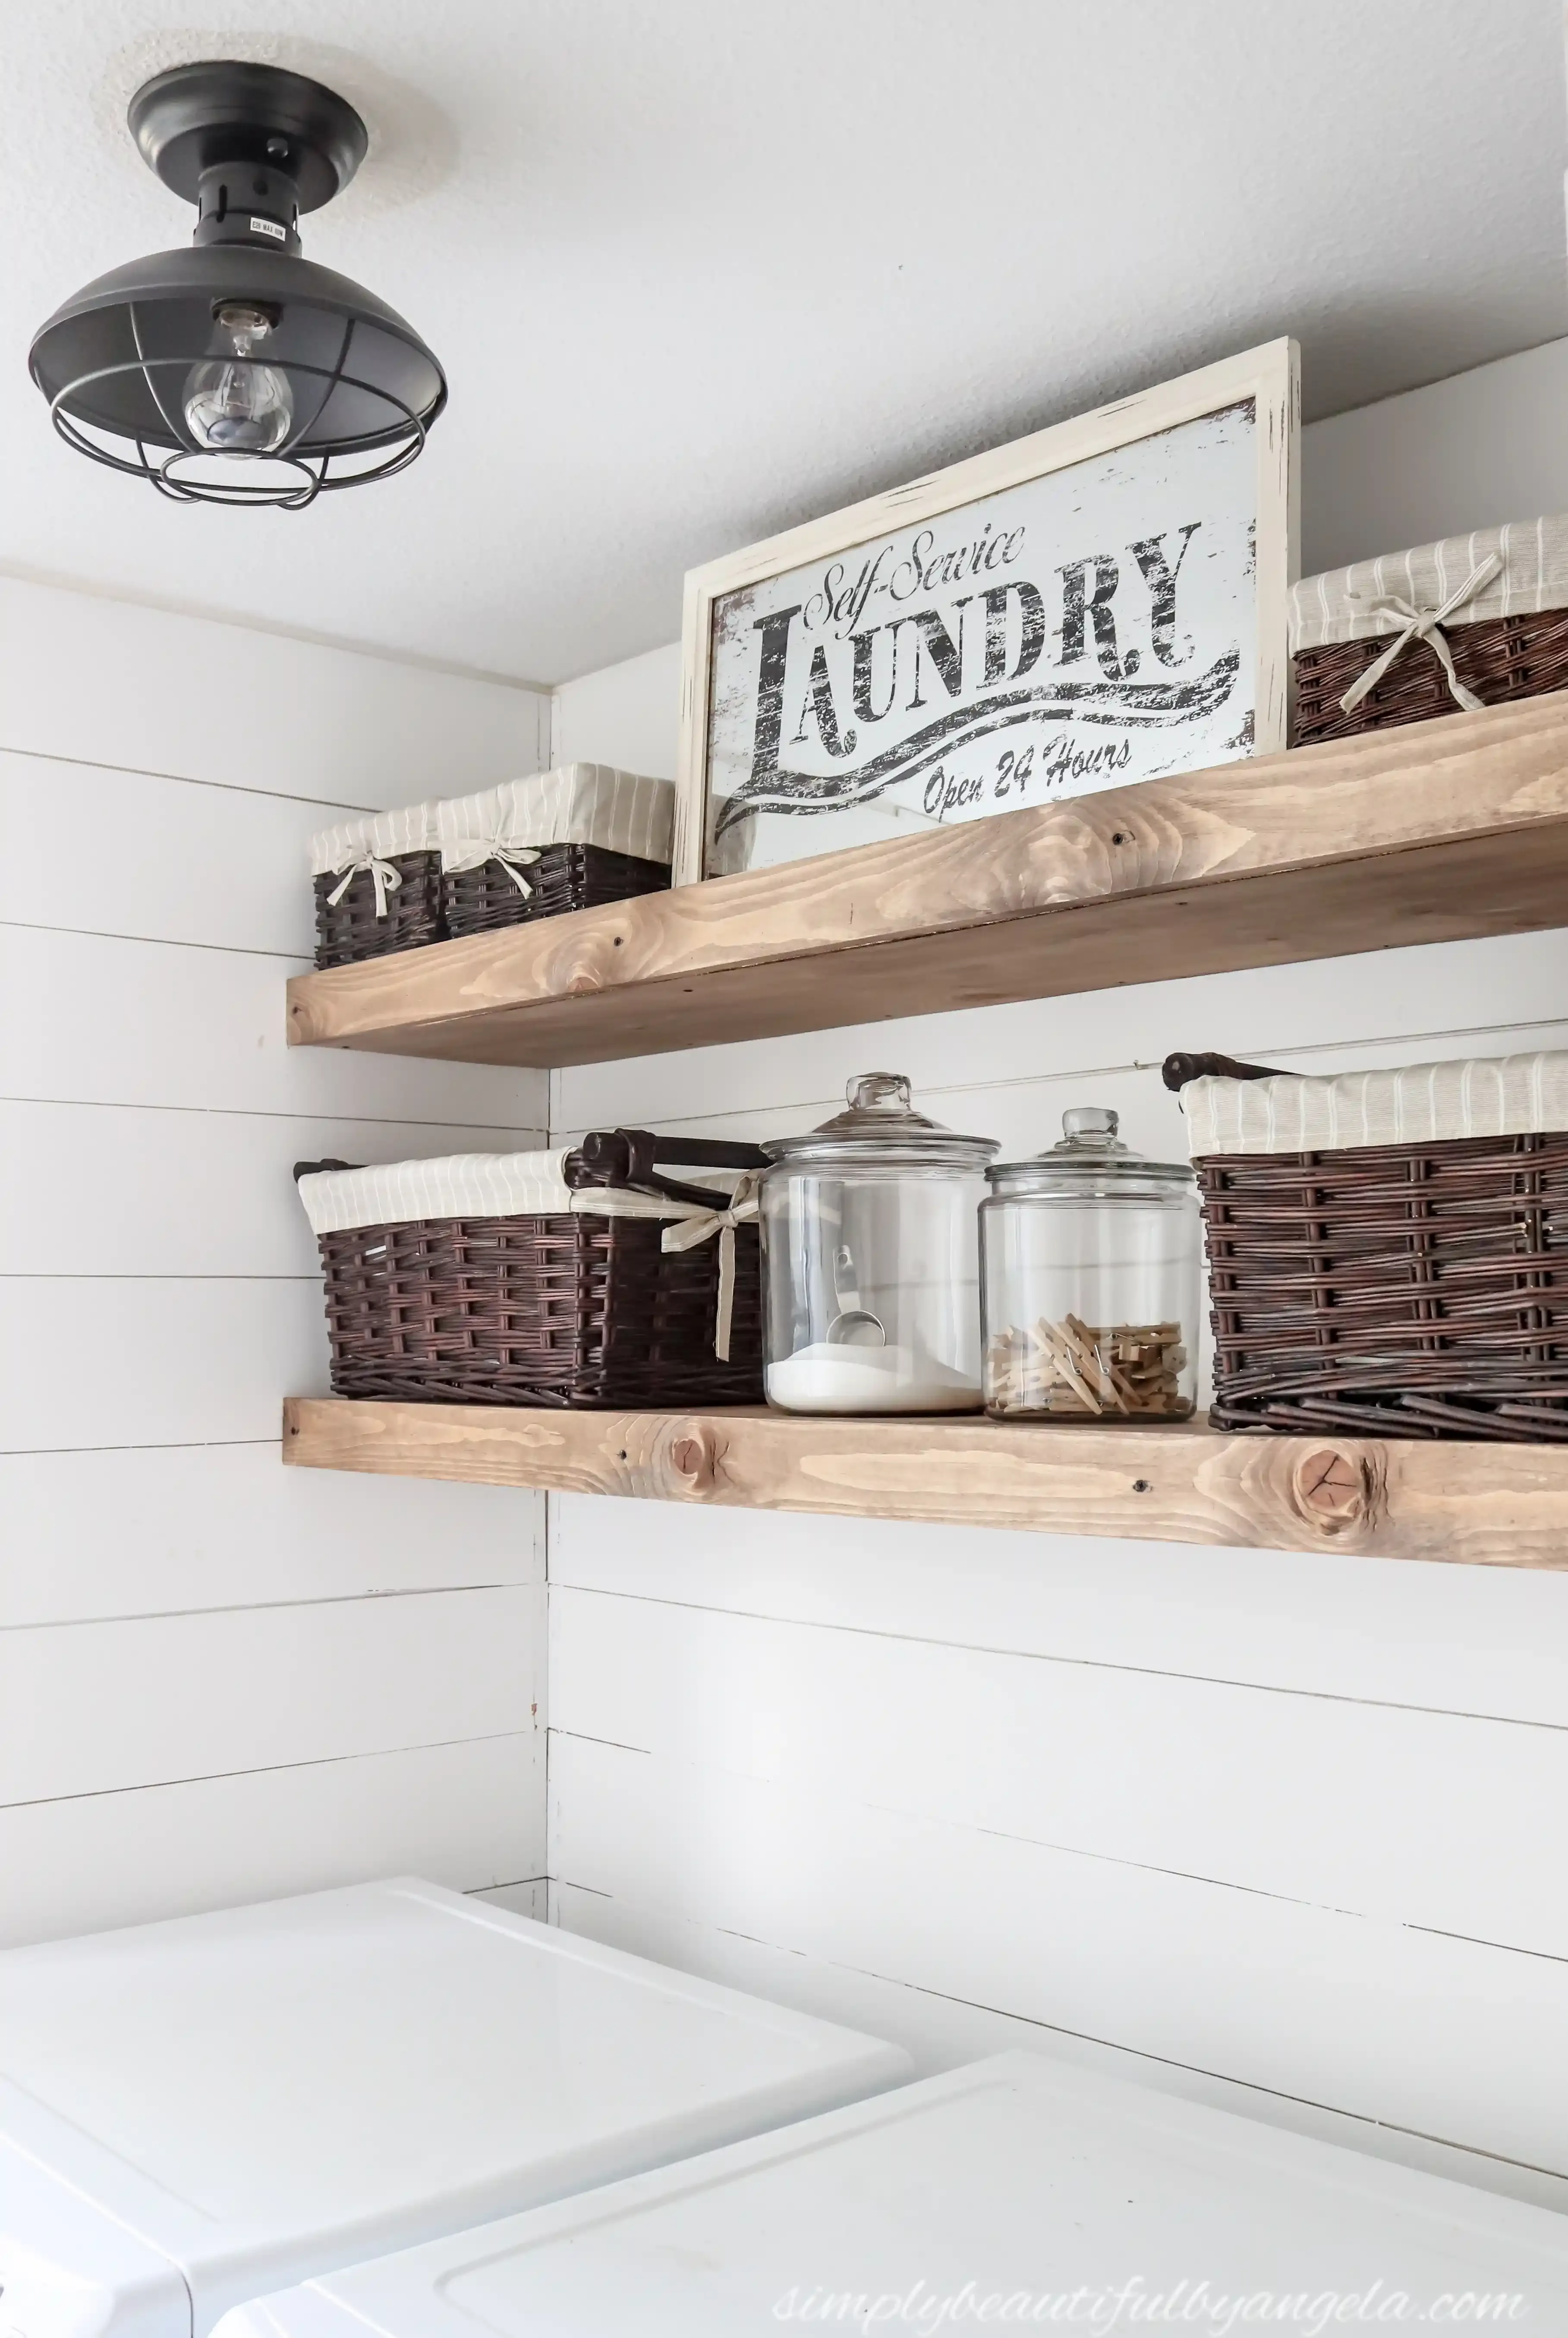
Alright, so you're ready to ditch the floor piles and get some height happening. Excellent decision. When it comes to **Popular DIY Laundry Room Shelving Ideas to Tackle**, you've actually got a few solid options depending on your skill level, budget, and the specific layout of your room. We aren't talking about rocket science here, mostly just cutting, fastening, and making sure things are level, which, admittedly, is sometimes harder than it sounds. Think about simple floating shelves for a clean look, wire shelving for maximum airflow and affordability, or maybe some beefier wood shelves with brackets if you plan on storing gallons of industrial-strength detergent. Each has its own quirks and benefits, and honestly, none require a full woodworking shop to pull off. It's more about picking the right approach for the space you have and the stuff you need to store.
Planning and Building Your DIY Laundry Room Shelving

Planning and Building Your DIY Laundry Room Shelving
Measure Twice, Cut Once (Seriously)
Alright, before you even think about grabbing a saw or drilling a hole, you need to get serious about measurements. This isn't just a suggestion; it's how you avoid that frustrating moment when your shelf is three inches too long or short. Grab a tape measure and figure out exactly where you want these shelves to go. Consider the height of your appliances, door swings, and any existing pipes or electrical outlets you absolutely cannot drill into. Think about what you plan to store on the shelves – gallon jugs of bleach need more vertical space than a box of dryer sheets. Sketch it out on paper. It doesn't need to be a masterpiece, just a rough plan showing shelf lengths and heights. Deciding on materials is next for your **Planning and Building Your DIY Laundry Room Shelving**. Simple pine boards are affordable and easy to work with, but if you're loading them up heavy, you might need something sturdier or more brackets. Plywood cut to size is another option, especially if you plan to paint it. Don't just eyeball it; measure, measure, measure.
Tools, Techniques, and Not Screwing It Up Too Badly
measurements are locked in (hopefully). Now for the actual building part of **Planning and Building Your DIY Laundry Room Shelving**. What tools do you need? At minimum, you're looking at a level, a drill, a stud finder (crucial unless you enjoy shelves collapsing), some screws, and whatever hardware your chosen shelving system requires (brackets, anchors, etc.). If you're cutting your own wood, add a saw – a simple hand saw works for pine, but a circular saw makes life much easier. Mark your stud locations clearly on the wall. Attaching shelves directly into studs is always the strongest method. If you can't hit a stud everywhere, use appropriate drywall anchors rated for the weight you plan to put on the shelf. Get that level out constantly during installation. A crooked shelf is a constant, annoying reminder of your slight misalignment with reality.
- Tape Measure
- Level
- Stud Finder
- Drill
- Screws and Anchors (rated for weight)
- Saw (if cutting wood)
- Safety Glasses (seriously, use them)
Finishing Touches and Making the Most of Your New Space
Finishing Touches and Making the Most of Your New Space
Making Them Look Less Like Raw Lumber
Alright, the shelves are up. They're level (mostly), they're secure (hopefully), and now they look like... well, bare wood slapped on a wall. This is where the "Finishing Touches and Making the Most of Your New Space" part really kicks in. You could leave them raw, I suppose, if you're going for that unfinished basement aesthetic, but a little paint or stain goes a long way. Painting them the same color as your trim or walls can make them blend in, while a contrasting color makes them pop. Stain gives them a warmer, more natural look. Whatever you choose, a coat of primer first is usually a good idea, especially if you're painting over knots in pine. Don't rush this part; drips and uneven coats are annoying to fix later.
- Paint (latex or acrylic work well)
- Wood Stain
- Primer (especially for knotty wood)
- Sandpaper (fine grit for smoothing)
- Brushes or Rollers
- Drop cloth (unless you enjoy paint on your floor)
Putting the 'Organized' in Laundry Room
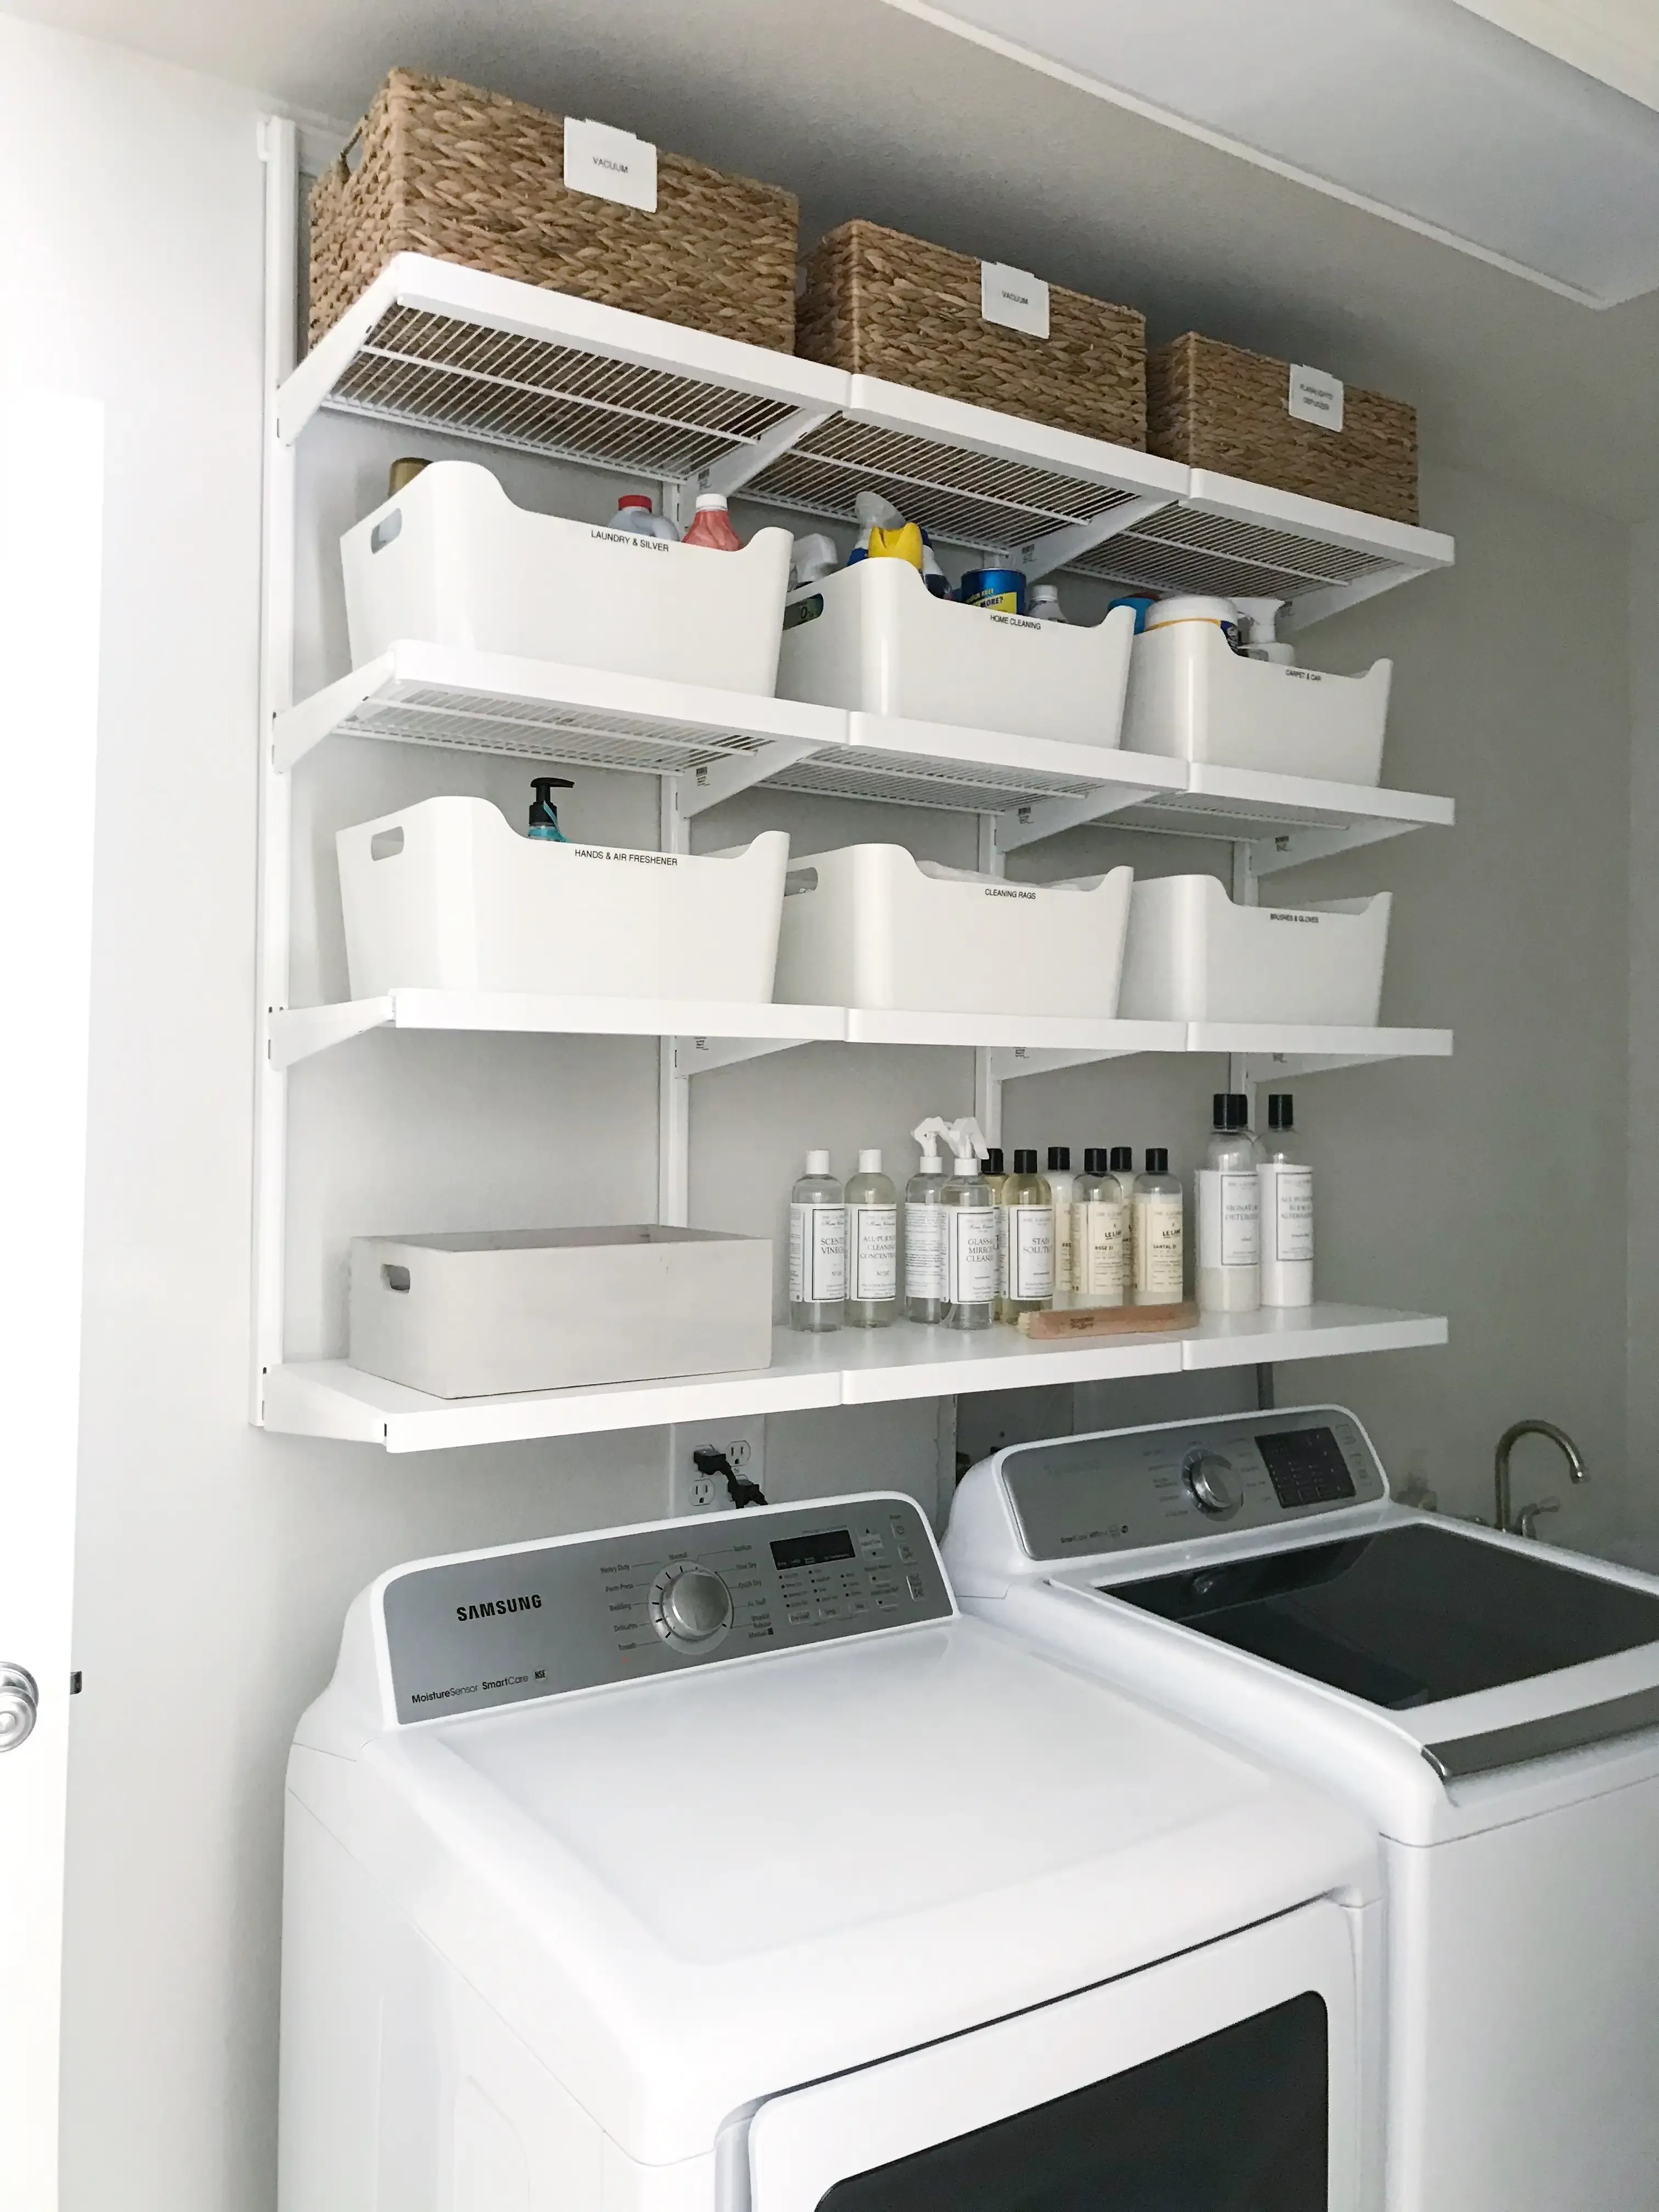
shelves are finished and dry. Time to load them up and truly appreciate your **Finishing Touches and Making the Most of Your New Space**. Start by putting the things you use most often on the most accessible shelves – detergent, fabric softener, stain remover. Higher shelves are good for less-used items or bulky spares. This is also your chance to introduce some bins or baskets. They hide the visual clutter of mismatched bottles and boxes and make things easy to pull down. Wire baskets, woven bins, or even simple plastic tubs work. Labeling these helps everyone know what's what. Group similar items together: all the dryer sheets in one bin, all the cleaning rags in another. It sounds simple, but the difference between stuff just sitting on a shelf and stuff neatly contained in bins is huge.
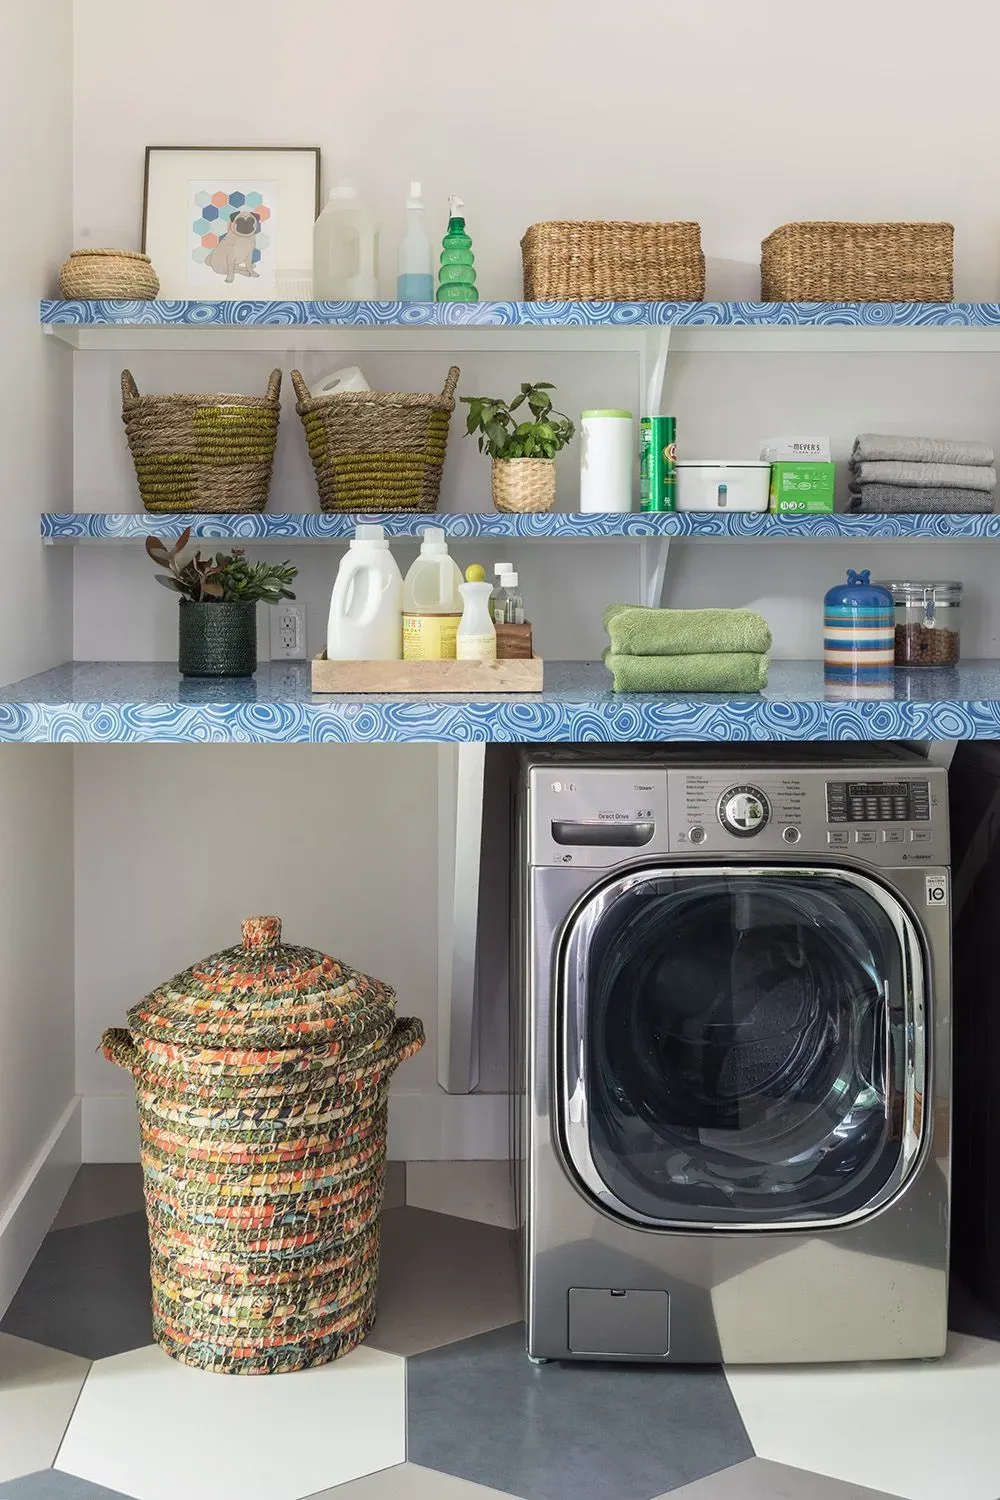
Think about adding a small plant (if you get any natural light) or a piece of art. Just because it's a utility space doesn't mean it has to be sterile. A little personality makes the chore slightly less painful.
What's the first thing you're going to put on your newly finished shelves?
Putting a Wrap on Your Laundry Room Overhaul
So, you have faced the mountain of laundry-related chaos and emerged victorious, or at least significantly more organized. Installing **diy laundry room shelving ideas** might not magically make folding socks enjoyable, but it sure makes finding the fabric softener less of an archaeological dig. You have claimed vertical territory, wrangled supplies into submission, and hopefully, added a touch of sanity to that often-neglected room. It took some effort, maybe a few misplaced screws, but the payoff is a space that works harder for you. Now, go forth and confront that next load with slightly less dread, knowing everything is finally in its designated spot.