Table of Contents
Is your laundry room a chaotic jumble of detergent bottles, misplaced socks, and overflowing hampers? Does the thought of tackling laundry day fill you with dread instead of excitement? It's time to reclaim your laundry space and transform it into an organized haven! This article is your ultimate guide to building amazing DIY laundry room storage shelves. We'll walk you through the entire process, from initial planning and design to the satisfying final touches. Forget expensive, pre-made units – we'll empower you to create custom DIY laundry room storage shelves perfectly tailored to your needs and style. Whether you're a seasoned DIY enthusiast or a complete beginner, we'll provide clear, step-by-step instructions and helpful tips to ensure success. Get ready to unleash your creativity and build beautiful, functional shelves that will not only maximize your storage but also add a touch of personal style to your laundry room. Prepare to be amazed at how easy it is to conquer clutter and finally enjoy doing laundry! Let's dive into the world of DIY laundry room storage shelves and create the laundry room of your dreams.
Planning Your DIY Laundry Room Storage Shelves

Planning Your DIY Laundry Room Storage Shelves
Measuring Your Space and Assessing Your Needs
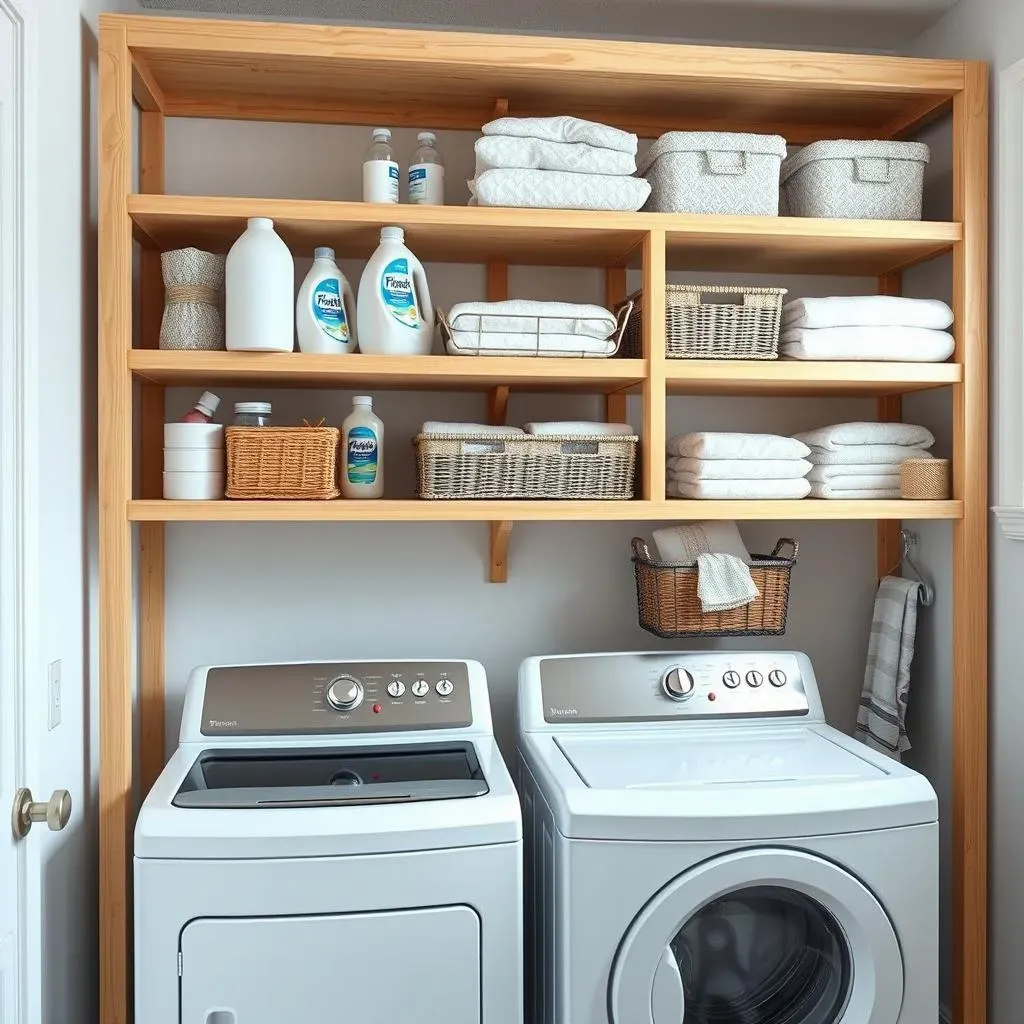
Before you even think about grabbing a saw, the most crucial step is meticulous measurement and planning. Grab your trusty tape measure and carefully measure the available wall space in your laundry room. Consider the height, width, and depth you have to work with. Think about what you want to store on your shelves – laundry detergent, towels, cleaning supplies, extra linens? Knowing this will help you decide on the number of shelves, their dimensions, and the overall design. For example, if you have a lot of bulky items, you might need deeper shelves. If you have a small laundry room, check out our tips on laundry room storage ideas for small spaces to maximize every inch. Don't forget about the height of your washer and dryer – you'll want to make sure your shelves fit comfortably above them without blocking access or looking cramped. This is like planning a great party: you need to know how many guests you can fit comfortably before sending out the invitations!
Measurement | Consideration |
|---|---|
Wall Height | Number of shelves, overall height of shelving unit |
Wall Width | Width of each shelf, number of shelves across the wall |
Depth of Space | Depth of shelves, items to be stored |
Choosing the Right Materials and Design
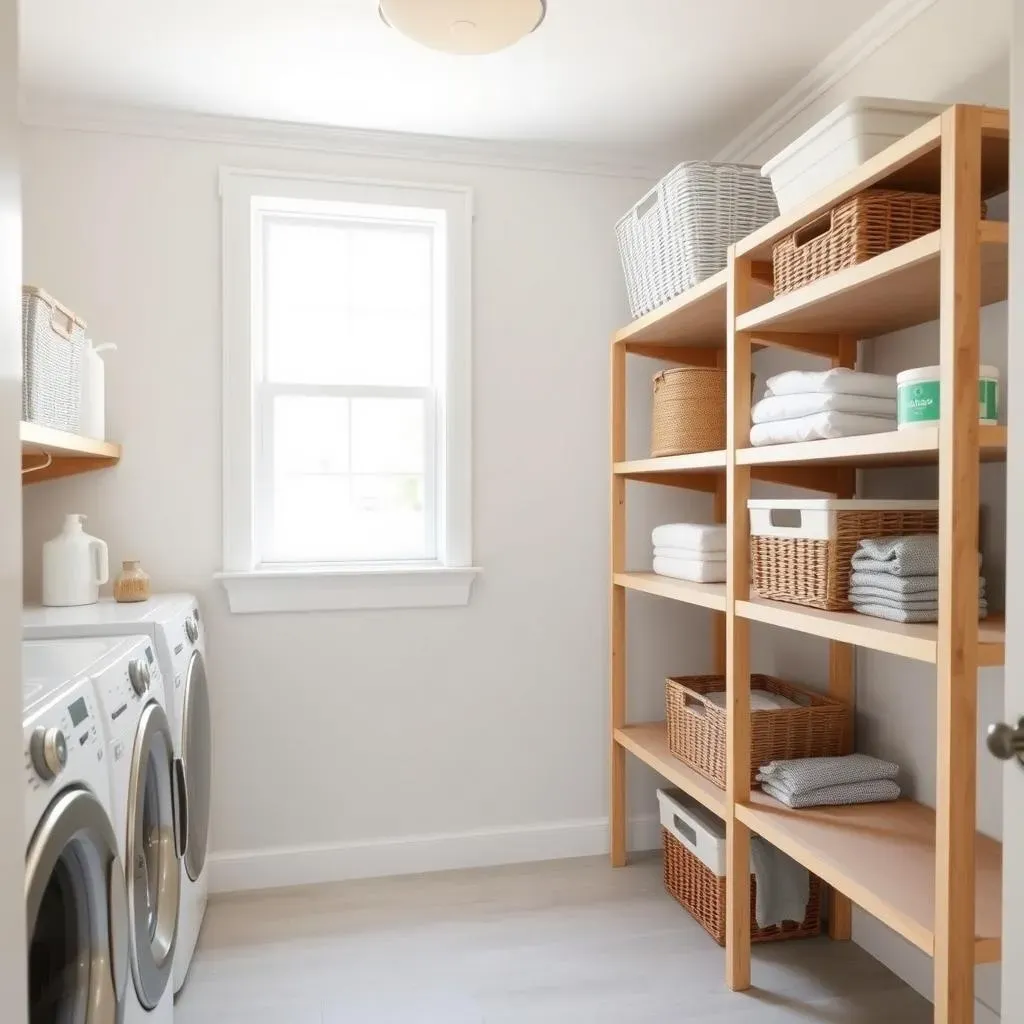
Now for the fun part – choosing your materials! The type of wood you select will affect both the look and the durability of your shelves. Pine is a popular choice due to its affordability and ease of working with, but hardwoods like oak or maple offer greater strength and a more upscale aesthetic. Consider your existing laundry room décor; do you want shelves that blend in seamlessly or make a bold statement? You could opt for a simple, clean design, or get creative with different shapes, sizes, and finishes. Remember, these shelves are an opportunity to express your personal style! Need more inspiration? Check out our ideas on DIY laundry room storage shelves for some creative designs. Think about adding details like decorative brackets, molding, or even a built-in peg rail for hanging items. It’s your chance to create something truly unique and special.
- Consider the style of your laundry room
- Choose a wood type that matches your aesthetic and budget
- Think about adding decorative elements
Sketching Your Plan and Gathering Supplies
Before you start cutting and assembling, it’s essential to create a detailed plan. Sketch out your design, including the dimensions of each shelf, the placement of brackets, and any additional features like peg rails or dividers. This will help you visualize the final product and ensure everything fits perfectly. Once you have your design finalized, create a detailed shopping list. Include not only the lumber but also all necessary hardware: screws, brackets, wood glue, sandpaper, and any finishing materials like paint or stain. It's better to have too much than too little – trust me on this! Having everything ready before you start will streamline the entire building process. This is the crucial strategy phase; just like a general planning a battle, you need to know exactly what resources you'll need to win the day! For more ways to organize your supplies, consider checking out our post on laundry room organization tips.
Building Your DIY Laundry Room Storage Shelves: A StepbyStep Guide
Cutting the Wood to Size
With your meticulously crafted plan in hand, it's time to unleash your inner lumberjack! Using your measurements, carefully cut your chosen wood to the precise lengths needed for your shelves. A circular saw or miter saw works perfectly, but a hand saw will do the trick if that's what you have. Remember, accuracy is key here; double-check your measurements before making each cut. If you're using multiple pieces to create wider shelves, ensure they're perfectly aligned for a seamless finish. For tips on working with different types of wood, check out our guide on DIY laundry room storage shelves.
Once your boards are cut, give them a light sanding to smooth out any rough edges. This will create a cleaner look and make the painting or staining process much easier. A fine-grit sandpaper is ideal for this task. Remember to sand in the direction of the wood grain to avoid scratching the surface. A little elbow grease now will save you headaches later! Don't forget to clean up any sawdust before moving on to the next step. For more space-saving solutions, check out our post on space-saving laundry room solutions.
Step | Action | Tip |
|---|---|---|
1 | Measure and mark your wood | Double-check measurements! |
2 | Cut the wood | Use a sharp saw for clean cuts. |
3 | Sand the edges | Sand in the direction of the grain. |
Attaching the Brackets and Shelves
Now comes the part where your shelves start to take shape! Using your chosen brackets, carefully attach them to the underside of your shelves. Pre-drill pilot holes to prevent the wood from splitting, and use screws appropriate for your wood type and bracket design. Make sure the brackets are evenly spaced and securely fastened. This is where a level comes in handy to ensure your shelves are perfectly horizontal. Once the brackets are attached, you can begin installing the shelves to the wall. Again, pre-drilling pilot holes is recommended, especially if you're attaching to drywall. If you're unsure about securing shelves to the wall, check out our post on wall-mounted laundry storage for more advice.
When mounting the shelves to the wall, use appropriate-length screws to ensure a secure fit. If you're attaching to wall studs, you'll need shorter screws than if you're attaching to drywall alone. Make sure the shelves are level before fully tightening the screws. Remember, patience is a virtue in DIY projects! Take your time, and double-check your work at each stage. A little extra care will ensure your shelves are sturdy and safe. For more ideas on affordable options, see our article on affordable laundry room storage.
- Pre-drill pilot holes to prevent splitting.
- Use a level to ensure shelves are straight.
- Securely fasten brackets and shelves to the wall.
Customizing Your DIY Laundry Room Storage Shelves for Maximum Impact
Adding Finishing Touches: Paint, Stain, and More
Now that your shelves are structurally sound, it's time to unleash your inner artist! A fresh coat of paint or stain can completely transform the look of your shelves, tying them seamlessly into your laundry room's existing décor. Choose a color that complements your walls, flooring, and other fixtures. Consider a bright, cheerful color to create a vibrant atmosphere, or a calming neutral tone for a more serene space. For a rustic touch, you could opt for a natural wood stain that highlights the grain of the wood. Before applying any paint or stain, make sure to clean the shelves thoroughly to remove any dust or debris. A light sanding can also help ensure better adhesion. Don't forget to protect your work surface with drop cloths! For more ideas on creating a stylish laundry room, check out our post on modern laundry room designs.
Once your paint or stain is dry, you can add decorative elements to further personalize your shelves. Consider adding decorative shelf liner, stencils, or even decoupage. You can also incorporate other decorative elements, such as small plants, decorative baskets, or framed photos. The possibilities are endless! Remember, these shelves are a reflection of your personal style – have fun with it! Looking for more unique ideas? Our rustic laundry room storage ideas post has some great inspiration.
Finish Type | Pros | Cons |
|---|---|---|
Paint | Wide range of colors, easy application | Can hide wood grain |
Stain | Highlights wood grain, natural look | Less durable than paint |
Incorporating Functional Elements: Dividers, Hooks, and More
Beyond aesthetics, consider the functionality of your shelves. Adding dividers can help keep stacks of towels or folded clothes neat and organized. You can create simple dividers using leftover wood scraps or purchase pre-made options. These are perfect for smaller items like socks or underwear, preventing them from getting lost in the shuffle. To maximize vertical space, consider adding hooks underneath the shelves for hanging items like laundry bags, cleaning brushes, or even a small ironing board. For more creative storage solutions, check out our guide on laundry room storage hacks.
Consider the items you'll be storing on your shelves and how you can best organize them. For example, you might use baskets, bins, or containers to group similar items together. Labeling these containers can also help keep things tidy and easily accessible. Think about incorporating a pull-out drawer for frequently used items like detergent or stain remover. These small additions can significantly improve the usability of your shelves. For more ideas on maximizing space in small laundry rooms, take a look at our ideas on small laundry room storage.
- Add dividers for better organization
- Install hooks to hang items
- Use baskets and containers to group similar items
Adding the Finishing Touches: Lighting and Accessories
The final touches can truly elevate your DIY laundry room storage shelves from functional to fabulous! Consider adding under-shelf lighting to make it easier to see what you're looking for, especially in darker corners of the laundry room. LED strip lights are a great option, as they're energy-efficient and easy to install. A small, decorative mirror can also brighten up the space and make it feel larger. For more ideas on creating a functional and stylish laundry room, check out our ideas for laundry rooms with sinks.
Finally, don't be afraid to add personal touches that reflect your style and personality. A framed print, a small potted plant, or even a collection of vintage tins can add character and warmth to the space. Remember, the laundry room doesn't have to be just a utilitarian space; it can be a reflection of your personal style and a place you actually enjoy spending time in! Need more ideas? Our Pinterest board on laundry room storage ideas on Pinterest is full of inspiration.
