Table of Contents
Is your basement laundry area a dimly lit, damp dungeon? Does the thought of doing laundry down there fill you with dread? It doesn't have to be that way! This article is your comprehensive guide to finishing a basement laundry room, transforming that forgotten space into a functional and even stylish addition to your home. We'll walk you through the entire process, from initial planning and budgeting to the exciting final touches. Learn how to tackle essential steps like waterproofing, installing proper ventilation, and choosing the right flooring and wall finishes. We'll also explore ways to maximize space and add practical features, such as ample storage solutions and efficient lighting. Get ready to say goodbye to that dreary basement laundry room and hello to a bright, organized, and enjoyable space that makes laundry day a little less daunting. Whether you're a seasoned DIYer or a complete beginner, this guide provides the information and inspiration you need to succeed in your basement laundry room finishing project. Let's get started on creating the laundry room of your dreams!
Planning Your Basement Laundry Room Finish
Planning Your Basement Laundry Room Finish
Defining Your Needs and Wants
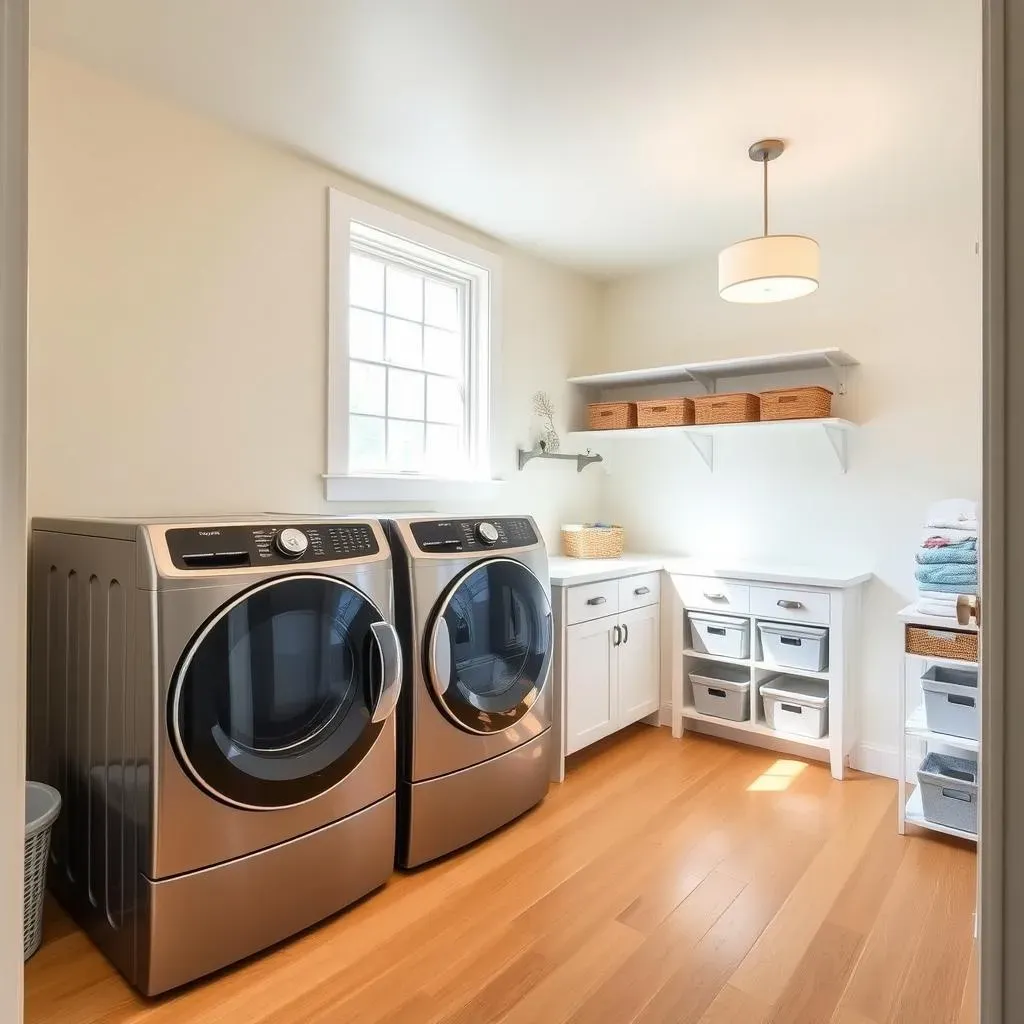
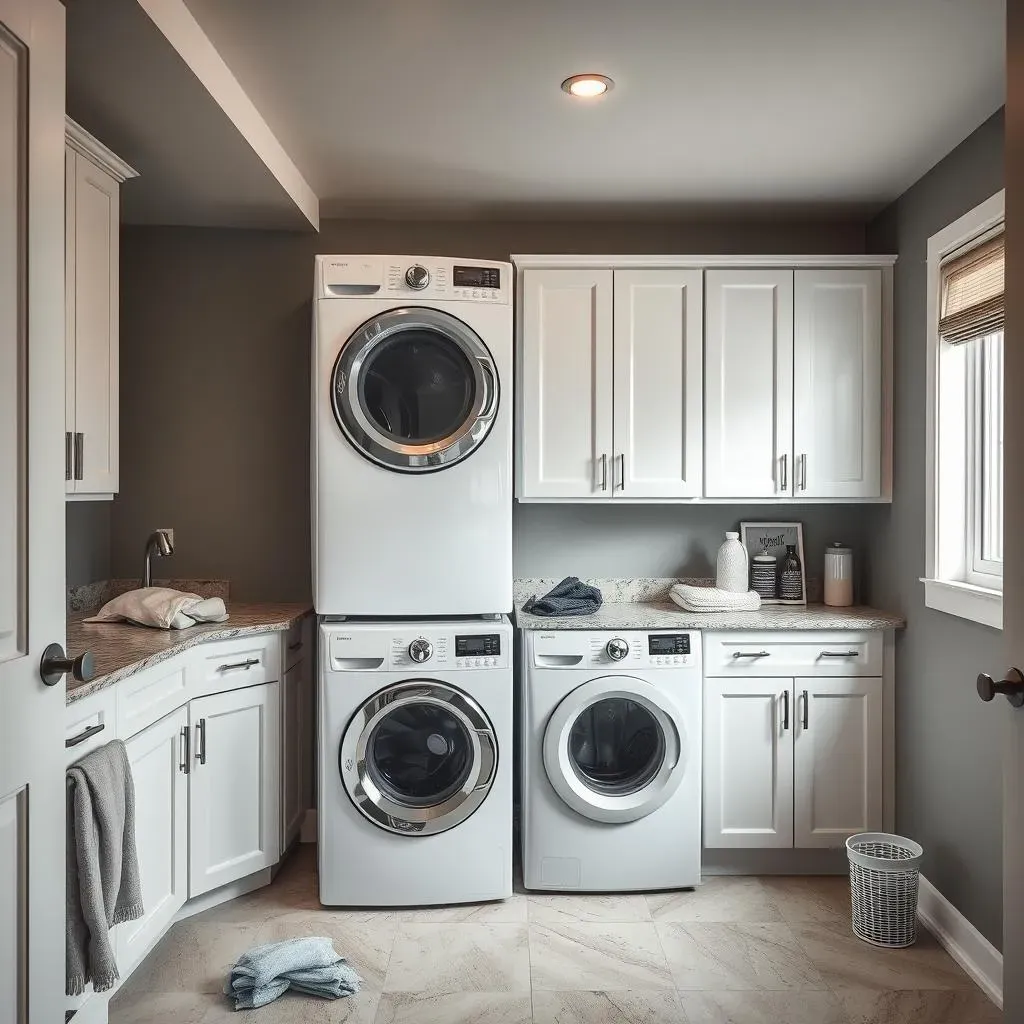
Before you even think about grabbing a hammer, take some time to really figure out what you need and want in your new laundry room. Think about your laundry habits. Do you have a massive family with mountains of laundry, or is it just you and a few roommates? How much storage space do you need for detergents, cleaning supplies, and extra linens? Do you prefer a stacked washer/dryer combo to save space, or do you have the room for side-by-side units? Consider the style you want to achieve – modern, rustic, farmhouse chic? Sketching out a basic floor plan can be really helpful at this stage.
Question | Answer |
|---|---|
Laundry Volume | (e.g., Large family, small household) |
Storage Needs | (e.g., Lots of shelves, minimal storage) |
Appliance Preferences | (e.g., Stackable, side-by-side) |
Desired Style | (e.g., Modern, rustic, traditional) |
Assessing Your Basement's Condition
Once you've got a clear idea of your ideal laundry room, it's time to take a hard look at your basement. Is it dry? Are there any cracks in the walls or floor? What's the existing plumbing and electrical situation like? You'll need to address any significant issues before you start finishing the room. This might involve waterproofing, repairing cracks, or upgrading the electrical system. Don't underestimate this step; neglecting it could lead to costly problems down the line. Remember, a solid foundation is crucial for a successful project.
- Inspect walls for cracks and water damage.
- Check for proper drainage and ventilation.
- Assess existing plumbing and electrical systems.
- Consider hiring a professional for a thorough inspection if needed.
Budgeting and Material Selection
Let's talk money. Finishing a basement laundry room can cost anywhere from a few hundred to several thousand dollars, depending on the size of the room, the materials you choose, and whether you're doing the work yourself or hiring contractors. Create a detailed budget that includes all the costs involved, from materials and appliances to permits and potential professional labor. Start comparing prices for different materials – flooring, cabinetry, countertops, paint – to find options that fit your budget and style. Remember, there are plenty of affordable and stylish options out there! Don't forget to factor in potential unexpected costs – it's always wise to add a buffer to your budget.
Essential Steps in Finishing a Basement Laundry Room
Essential Steps in Finishing a Basement Laundry Room
Waterproofing and Moisture Control
Before you even think about hanging drywall, you absolutely *must* address any moisture issues. A damp basement is a recipe for mold, mildew, and general disaster. Proper waterproofing is non-negotiable. This might involve sealing cracks in the foundation, installing a dehumidifier, and ensuring adequate ventilation. Think of it as building a strong foundation—literally! A damp basement is a recipe for disaster, leading to mold and other problems. Don't skip this crucial step.
- Inspect for cracks and leaks in the foundation.
- Apply waterproofing sealant to cracks and seams.
- Install a high-quality dehumidifier.
- Ensure proper ventilation with exhaust fans.
Plumbing and Electrical Work
Next up: the nuts and bolts. This is where things can get a bit more complex, depending on your existing plumbing and electrical setup. You might need to install new plumbing lines for your washer and dryer, as well as a utility sink if you're adding one. Similarly, you'll need to ensure you have sufficient electrical outlets and circuits to handle the power demands of your appliances. If you're not comfortable with this kind of work, definitely call in a licensed professional. Safety first!
Task | Considerations |
|---|---|
Plumbing | Install new lines for washer/dryer, utility sink (if applicable). Check local codes for requirements. |
Electrical | Ensure adequate circuits and outlets for appliances. Consider GFCI protection for safety. |
Framing and Drywall
With the plumbing and electrical work complete, it's time to build the walls! This involves framing the walls using 2x4s or other appropriate lumber, ensuring they are properly braced and plumb. Once framed, you can install drywall, ensuring all seams and nail holes are properly taped and mudded for a smooth finish. This is where the room really starts to take shape, and it's incredibly satisfying to see your hard work paying off. Remember, proper framing is key for a sturdy and long-lasting laundry room.
Finishing Touches
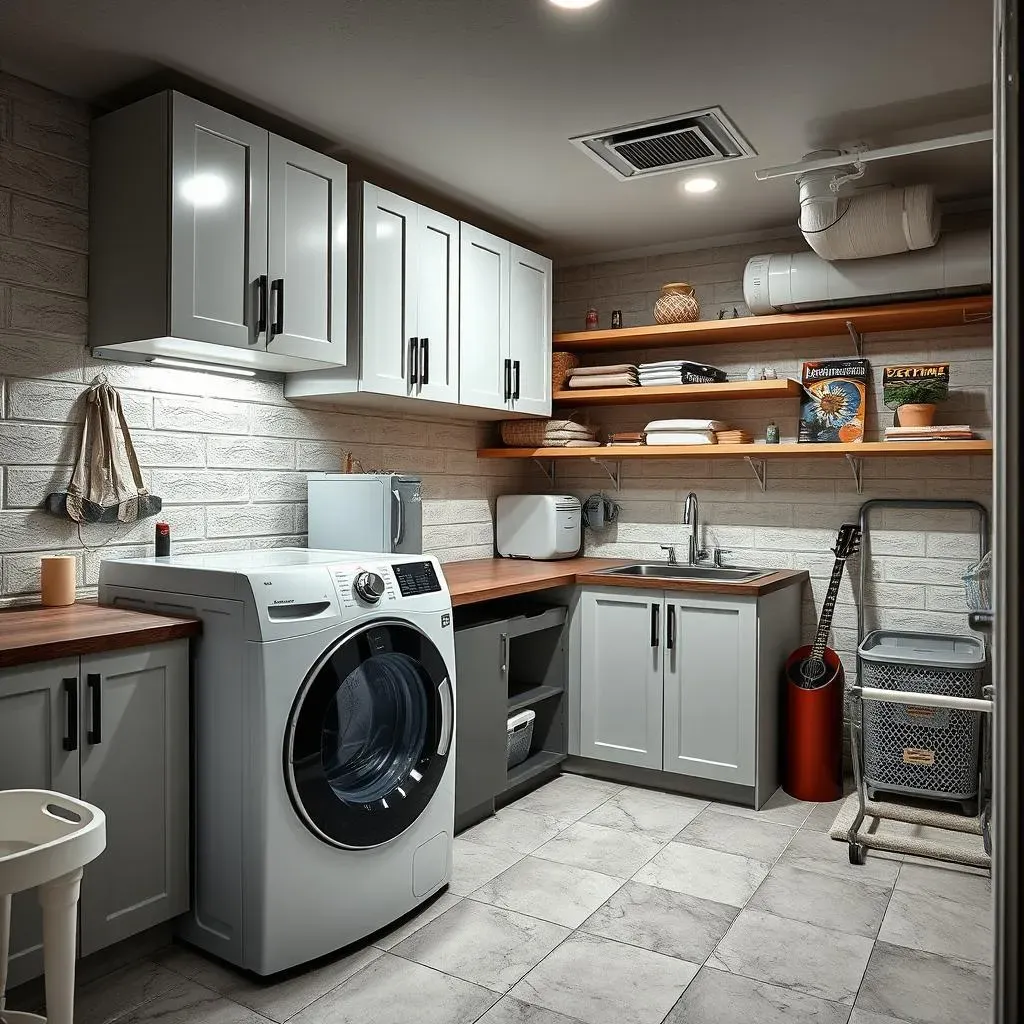
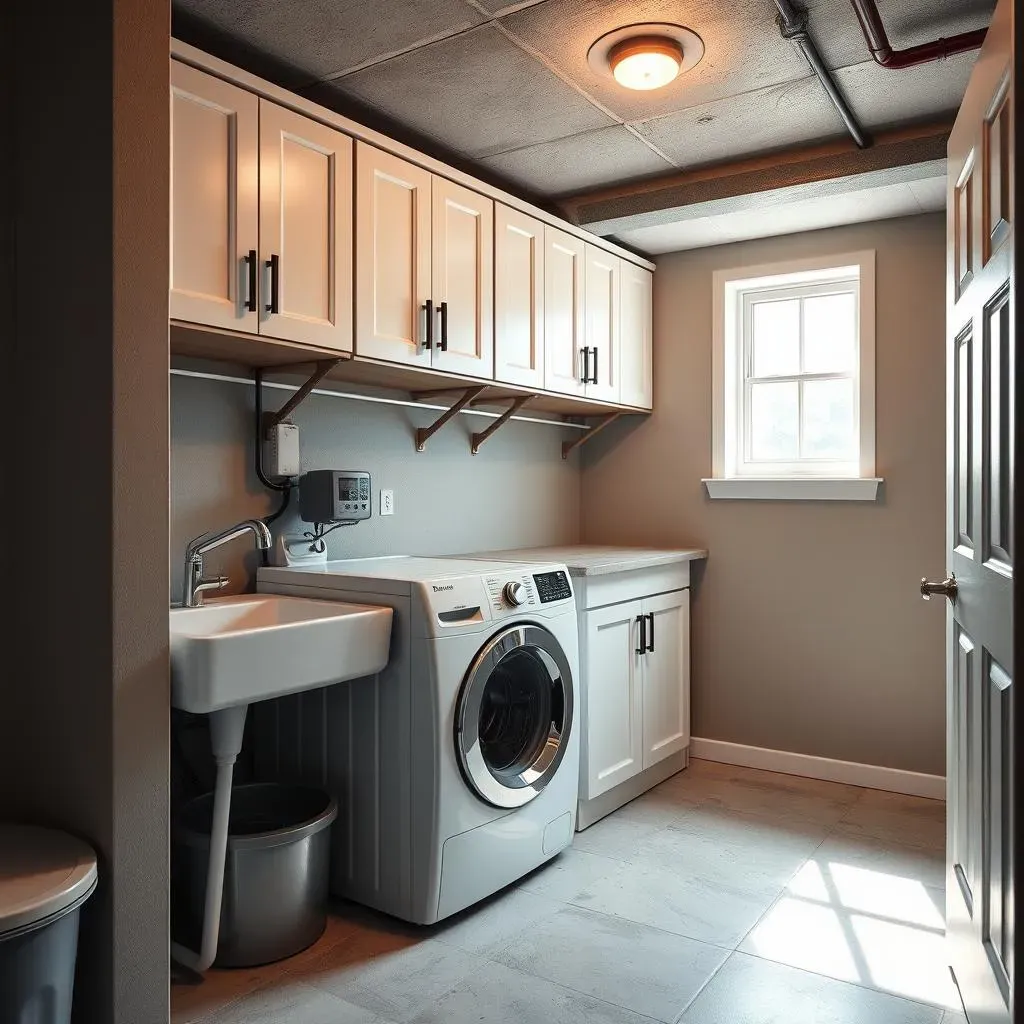
Finally, the fun part! This is where you can really personalize your laundry room. Choose flooring that's durable and easy to clean—tile or vinyl are popular choices. Paint the walls a color that brightens the space and makes it feel less like a dungeon. Install cabinets and shelving for storage, and don't forget the lighting! Good lighting is essential for a functional laundry room. Consider adding a stylish countertop, too – it’ll make it feel more upscale.
- Choose durable and water-resistant flooring.
- Select paint colors that enhance brightness and mood.
- Install ample storage solutions (cabinets, shelves).
- Install efficient and stylish lighting.
Adding Style and Functionality to Your Finished Basement Laundry Room
Adding Style and Functionality to Your Finished Basement Laundry Room
Adding Style and Functionality: Beyond the Basics
Okay, so you've got the plumbing, the electrics, and the walls are up. Now for the fun part – making your basement laundry room not just functional, but actually *stylish*. Think beyond the bare minimum. Forget the drab, depressing laundry room of your nightmares! We're talking about creating a space that's a joy to be in, even if it's just for a short while. Consider the overall aesthetic you want to achieve. Do you want a clean, modern look, or something more rustic and charming? The right style will make a huge difference in how you feel about your laundry room. And don't forget the little details – they're what really elevate a space.
Style | Features |
|---|---|
Modern | Sleek cabinets, minimalist shelving, bright lighting, metallic accents |
Rustic | Open shelving, exposed beams (if applicable), warm lighting, natural wood accents |
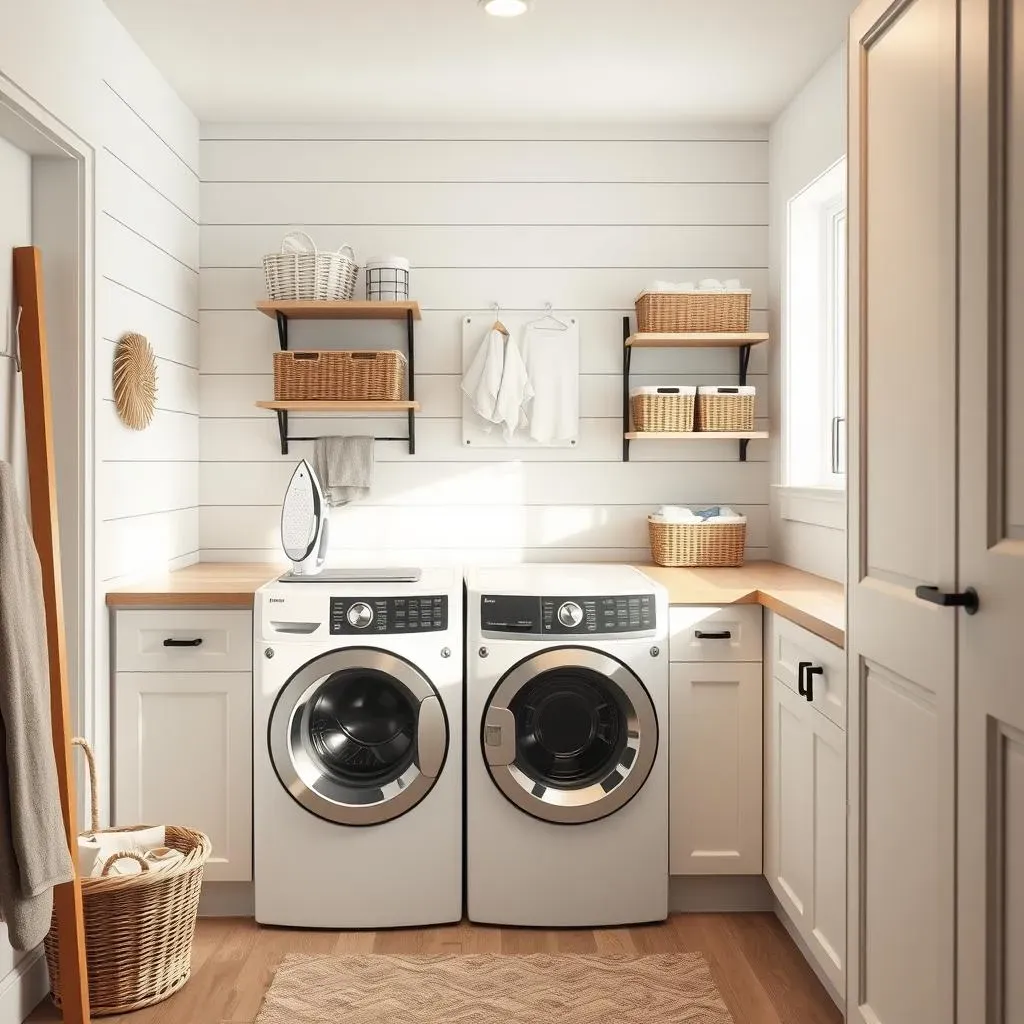
Farmhouse | White cabinets, shiplap walls, vintage-inspired hardware, baskets for storage |
Smart Storage Solutions
Storage is key in any laundry room, but especially in a basement where space can be at a premium. Think vertically! Utilize wall space with shelves, cabinets, and even hanging organizers. Consider using baskets and bins to keep things tidy. Clever storage solutions not only keep your laundry supplies organized but also contribute to the overall aesthetic of the room. A well-organized laundry room is a happy laundry room! Don't underestimate the power of smart storage.
- Maximize vertical space with wall-mounted shelves and cabinets.
- Use baskets and bins to corral laundry supplies and keep things tidy.
- Install a pull-out hamper for easy access and concealed storage.
- Consider built-in ironing boards or folding stations to maximize space.
Budgeting and Resources for Finishing a Basement Laundry Room
Budgeting and Resources for Finishing a Basement Laundry Room
Budgeting for Your Basement Laundry Room
Let's talk money – the elephant in the room (or, in this case, the basement). Finishing a laundry room can range from a surprisingly affordable project to a significant investment. The cost depends heavily on factors like the size of your space, the materials you choose, and whether you're tackling the project yourself or hiring professionals. Before you even start browsing tiles, create a detailed budget. Break down the costs into manageable categories: materials (drywall, flooring, paint, cabinets, etc.), appliances (washer, dryer, sink), plumbing and electrical work (if needed), permits, and, of course, any professional labor. Don't forget to add a healthy buffer for unexpected expenses – those always seem to pop up! Remember, accurate budgeting prevents painful surprises later.
Cost Category | Estimated Cost Range | Notes |
|---|---|---|
Materials | $500 - $5000+ | Depends on quality and choices. |
Appliances | $1000 - $3000+ | Consider energy efficiency. |
Labor (if hiring) | $1000 - $10000+ | Highly variable based on location and scope of work. |
Permits | $100 - $500+ | Check local regulations. |
Finding the Right Resources
Once you've got your budget sorted, it's time to gather your resources. This includes everything from the actual materials (lumber, drywall, paint, etc.) to tools (hammer, saw, level, etc.). If you're a seasoned DIYer, you might already have a lot of the tools you need. If not, don't worry – you can usually rent tools from home improvement stores. For materials, consider shopping around at various stores to compare prices and find the best deals. Online retailers can also be a great resource, especially for larger items. And don't underestimate the power of asking friends and family – you might be surprised at what they're willing to lend or help with!
