Table of Contents
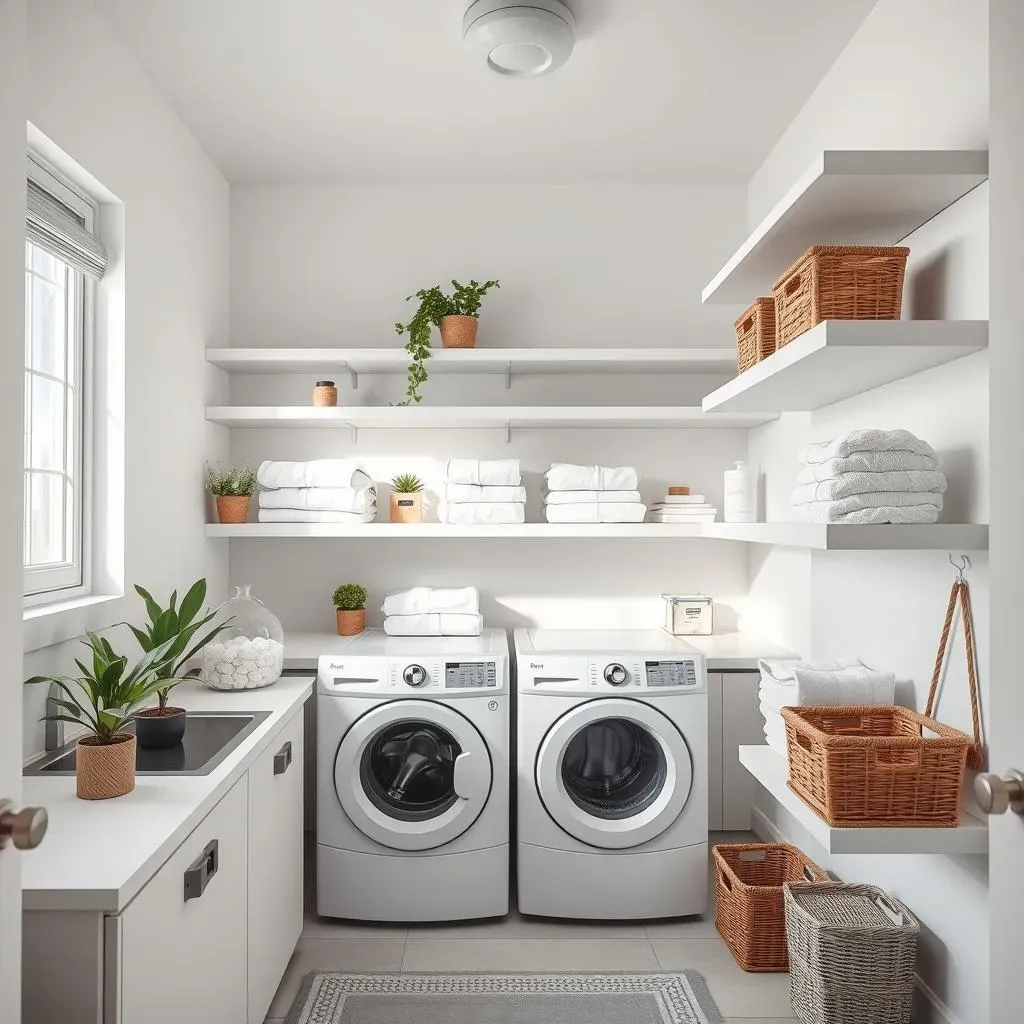
Is your laundry room feeling cramped and cluttered? Wish you had more space to store cleaning supplies, extra linens, and folded laundry? Then get ready to transform your laundry space with the simple yet elegant solution of floating shelves in laundry room! This article will guide you through everything you need to know, from planning the perfect placement and choosing the right materials to the actual installation and creative decorating. We'll cover essential steps for a successful DIY project, ensuring your shelves are both functional and visually appealing. Whether you're a seasoned DIY enthusiast or a complete beginner, we'll make sure you have all the tools and information to conquer this project. Prepare to say goodbye to laundry room chaos and hello to a stylish, organized, and efficient space. Let’s dive in and discover the magic of floating shelves in your laundry room!
Planning Your Floating Shelves in Laundry Room

Planning Your Floating Shelves in Laundry Room
Measuring Your Space and Assessing Needs
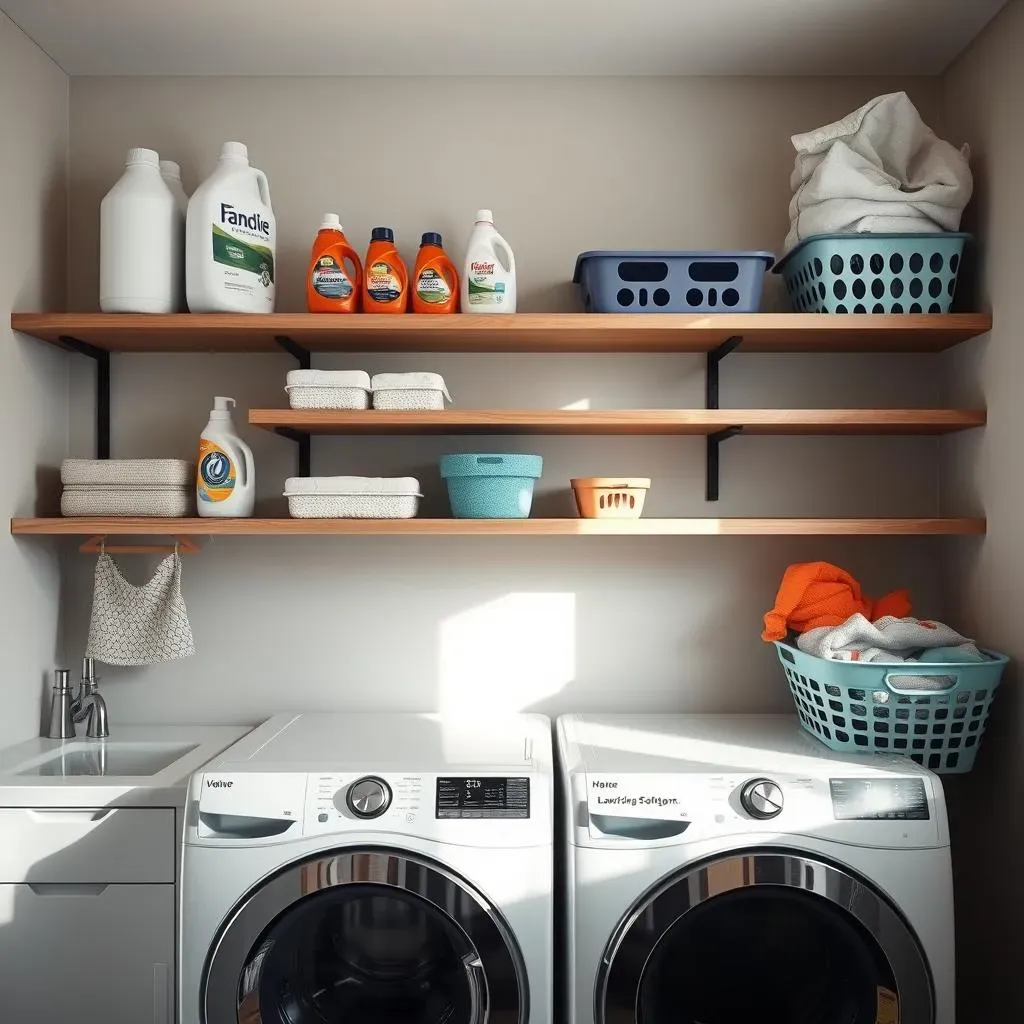
Before you even think about hammering a nail, grab your measuring tape! Carefully measure the wall space where you envision your floating shelves. Consider the width of your washer and dryer; you'll want shelves that complement, not compete with, your appliances. Think about what you want to store: detergents, fabric softeners, stain removers, extra towels, or maybe even baskets for folded laundry. A detailed inventory helps determine the number and size of shelves you'll need. Remember, you can always add more shelves later, but removing them is a bit more work. Need inspiration? Check out these ideas for laundry room shelving over your washer and dryer! Laundry room shelving ideas
Don't forget about those pesky pipes and electrical outlets! Mark their locations precisely on your wall measurements to avoid any unfortunate surprises during installation. You might even need to adjust your shelf placement to accommodate them. A little planning now saves a lot of headaches later. It might also be helpful to check your wall studs to make sure your shelves will be securely mounted.
Item | Quantity | Dimensions (inches) |
|---|---|---|
Detergent bottles | 3 | 10 x 4 x 6 |
Fabric softener bottles | 2 | 8 x 3 x 5 |
Laundry baskets | 2 | 12 x 12 x 12 |
Choosing the Right Materials and Style
Now for the fun part – choosing your materials! The most common choices are wood (pine, oak, or even reclaimed wood for a rustic look) and shelving boards. Wood offers a classic and customizable look, while shelving boards are more budget-friendly. Think about the overall style of your laundry room. Do you want something sleek and modern, or rustic and charming? Your shelf material should complement the existing décor. Consider the weight capacity of the materials you choose. Heavier items will require sturdier shelves. Think about how much weight your shelves need to hold, and choose materials that can handle it. For example, if you plan on storing heavy laundry baskets, you may want to choose a thicker wood.
Once you’ve got your materials picked out, consider the style of your shelves. Will they be simple and understated, or will they be more decorative? Do you want to add any extra details, such as molding or trim? Consider the overall design of your laundry room. Do you want your shelves to blend in or stand out? If you're looking for more ideas, check out these DIY laundry room shelving projects! DIY shelving projects
- Wood (Pine, Oak, Reclaimed)
- Metal (Steel, Aluminum)
- Shelving Boards (MDF, Particleboard)
Budgeting and Sourcing Materials
Before you head to the home improvement store, create a budget. Factor in the cost of materials (wood, screws, brackets, paint or stain), tools (if you don't already own them), and any extra decorative elements. Knowing your budget beforehand keeps you from overspending. You can often find great deals on materials by checking online marketplaces, salvage yards, or even asking friends and family if they have any leftover supplies. Remember, even small projects can add up quickly.
Consider the long-term cost of your floating shelves. Will they need regular maintenance or repainting? Will they match your style for many years to come? Sometimes, spending a little more upfront on higher-quality materials can save you money in the long run. Also, remember that you can always personalize your shelves with paint, stain, or other decorative elements to match the style of your laundry room.
Installing Floating Shelves in Laundry Room: A StepbyStep Guide

Installing Floating Shelves in Laundry Room: A StepbyStep Guide
Marking and Preparing the Wall
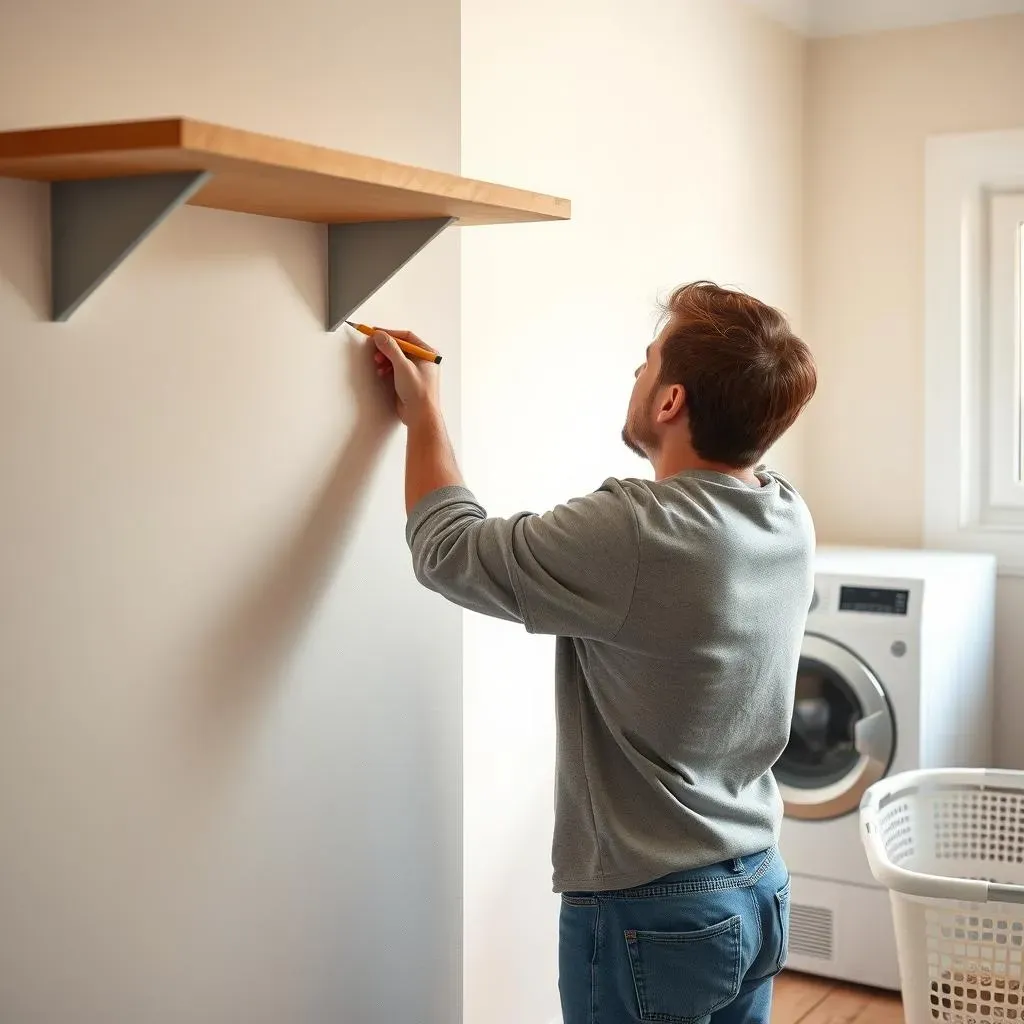
Alright, let's get those shelves up! First, grab your trusty level and pencil. Using your measurements from the planning stage, carefully mark the desired locations for your shelves on the wall. Remember those pipe and outlet markings? Double-check them now to avoid any mishaps! If you're unsure about your wall stud locations, use a stud finder to locate them for secure mounting. This is crucial, especially for longer shelves, to prevent sagging. Don't skip this step; it's the foundation of your project.
Before you start drilling, take a moment to consider the type of wall you're working with. Drywall requires different approaches than solid brick or concrete. You might need specialized anchors or screws for certain wall types to ensure a secure and stable installation. If you're working with drywall, you'll want to use drywall anchors to make sure your shelves are securely attached. For other wall types, you may need to use different types of fasteners. Always consult the instructions on your chosen fasteners to ensure proper installation.
- Locate wall studs
- Mark shelf positions
- Check for obstructions (pipes, outlets)
- Choose appropriate wall anchors
Attaching the Brackets or Cleats
With your markings in place, it's time to install the brackets or cleats. If you're using brackets, follow the manufacturer's instructions carefully. Usually, this involves pre-drilling pilot holes (smaller holes to guide your screws), then securing the brackets to the wall studs using screws. If you’re using cleats, you’ll need to attach them securely to the wall studs using screws. For longer shelves, consider adding extra support in the middle for added stability. You can find more inspiration for your project by checking out these DIY laundry room shelving projects! DIY shelving ideas
Make sure your brackets or cleats are level before you fully secure them. Use your level to double-check the placement and adjust as needed. This ensures your shelves will sit perfectly straight and level. Take your time and be patient; accuracy is key here. A slightly crooked shelf can really stand out and look unprofessional. Once everything is level, you can securely attach the brackets or cleats. Remember, you can always add extra support if needed.
Tool | Purpose |
|---|---|
Level | Ensures even placement |
Drill | Creates pilot holes |
Screwdriver | Secures brackets/cleats |
Decorating and Organizing Floating Shelves in Laundry Room

Decorating and Organizing Floating Shelves in Laundry Room
Choosing the Right Storage Solutions
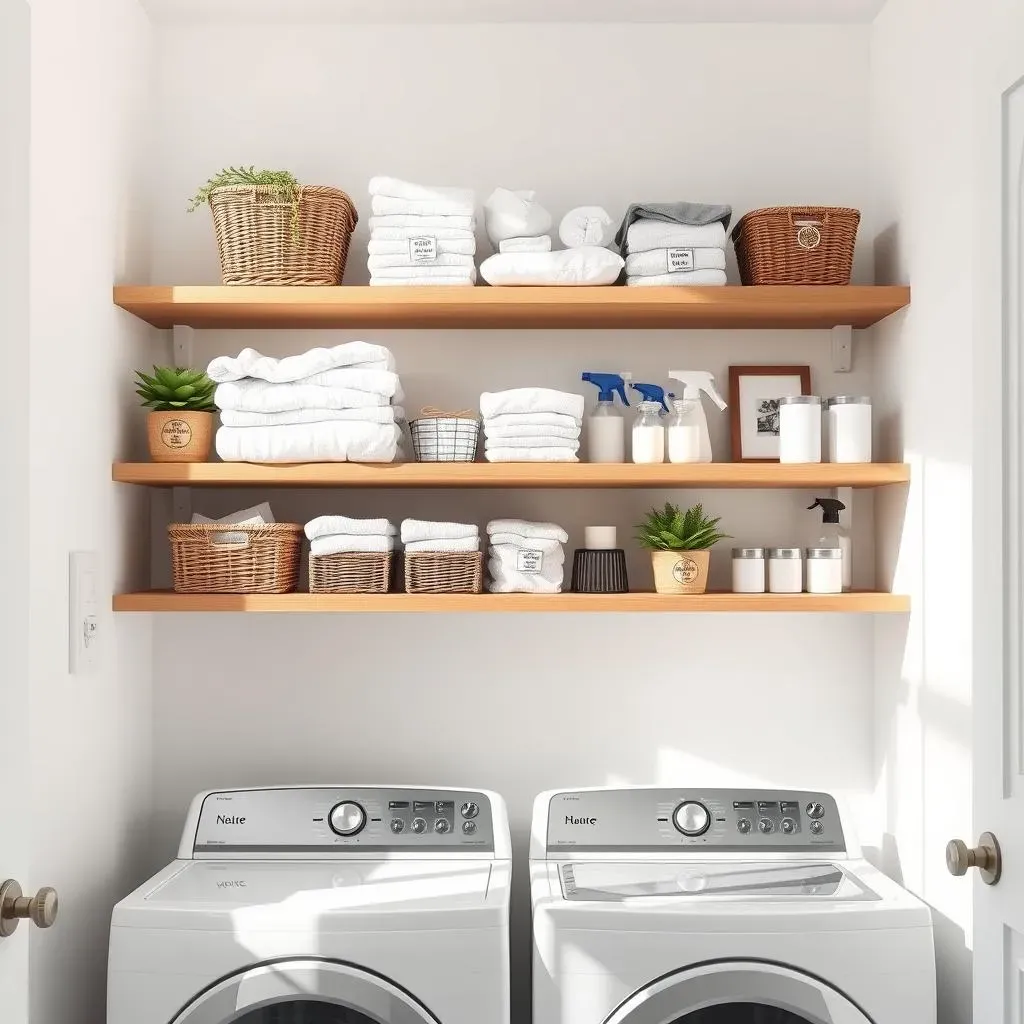
Now comes the fun part: decorating and organizing! Think about what you'll actually store on your shelves. Uniform containers look great, but practicality matters. Clear bins are perfect for showcasing items while keeping things tidy. Wicker baskets add a touch of rustic charm, and labeled bins prevent that inevitable "what's in this again?" moment. Consider using baskets or containers that match the style of your laundry room. You can even use decorative labels to add a personal touch. If you want more ideas, check out these DIY laundry room shelving projects! More DIY shelving ideas
Don't overcrowd your shelves. Leave some breathing room between items to prevent a cluttered look. Consider varying heights and sizes of containers to create visual interest. A mix of textures and colors adds personality. Think about adding some decorative items, such as plants or small pieces of art, to personalize your laundry room. A little bit of creativity can go a long way.
- Clear storage bins
- Wicker baskets
- Labeled containers
- Decorative boxes
Adding Style and Personality
Once you’ve got your storage solutions in place, it’s time to add some style and personality to your shelves. Consider adding some decorative items, such as plants, candles, or small pieces of art. These items can add a personal touch to your laundry room and make it feel more inviting. You can also use the shelves to display some of your favorite things, such as family photos or collections. This is a great way to personalize your space and make it feel more like your own. For more ideas on maximizing space, check out these tips for laundry room shelving over your washer and dryer! Shelving over washer/dryer
Remember, your laundry room doesn't have to be boring! Incorporate your personal style. A pop of color with a few colorful towels or a fun sign adds personality. Consider the lighting in your laundry room. Good lighting can make a big difference in how your shelves look. You may even want to add some extra lighting to highlight your decorative items. A little bit of creativity can transform this often-overlooked space into something truly special.
Item | Placement Suggestion |
|---|---|
Small potted plant | Corner of shelf |
Framed photo | Center of shelf |
Scented candle | End of shelf |
