
Table of Contents
Is your laundry room a chaotic pile of detergent bottles and lost socks? You're not alone. Adding cabinets can transform that mess into a functional, organized space. But the thought of putting holes in your walls and hoping things stay put can feel daunting. Figuring out exactly how to hang laundry room cabinets isn't just about screwing boxes onto drywall; it requires planning, the right tools, and a bit of precision to ensure they're secure and level. Nobody wants a cabinet crashing down mid-cycle, right? This guide cuts through the confusion. We'll walk you through the essential prep work, the tools you'll actually need (not just the fancy ones), the step-by-step process for getting those cabinets firmly on the wall, and the crucial final checks to make sure they're going to stay there, holding your supplies without incident. Get ready to ditch the clutter and create a laundry room that doesn't make you sigh every time you walk in.
Getting Ready to Hang Laundry Room Cabinets

Getting Ready to Hang Laundry Room Cabinets
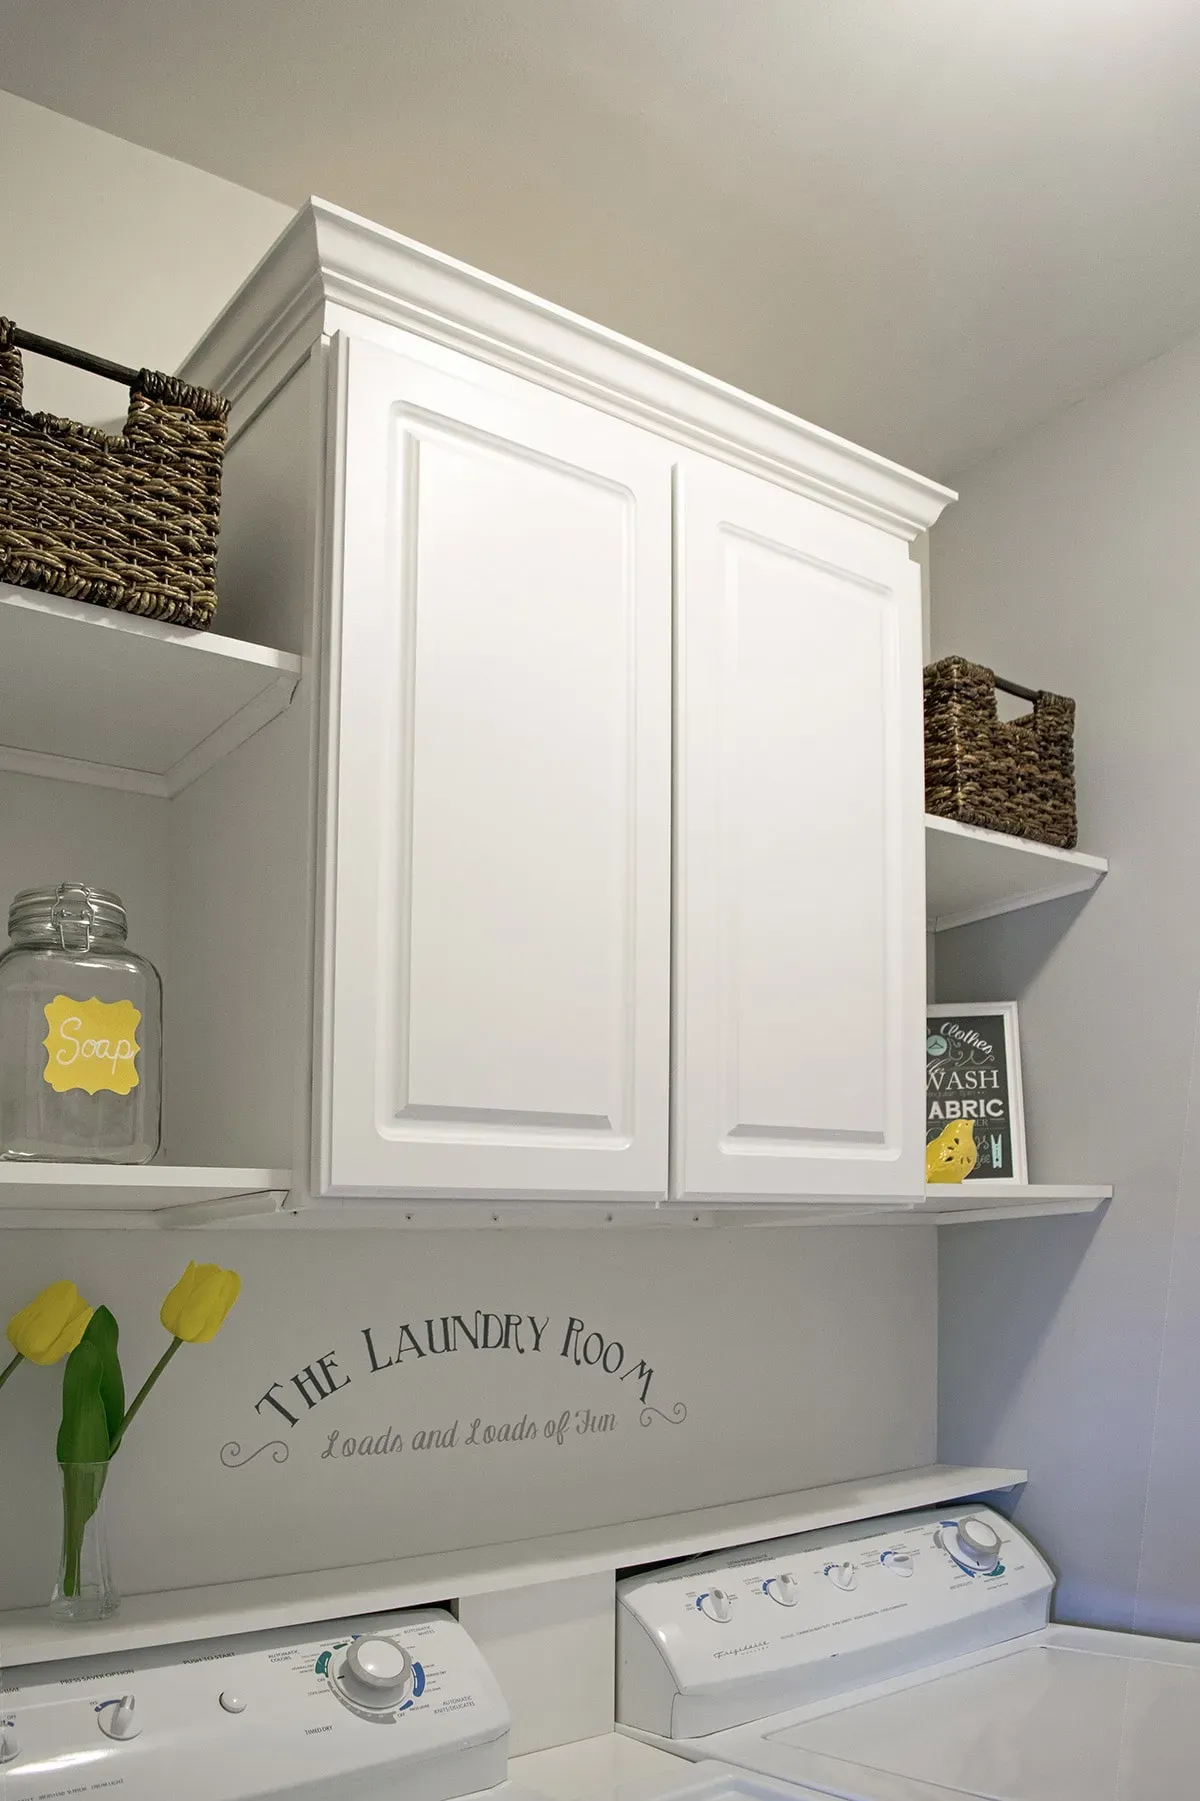
Alright, diving into this project feels great, doesn't it? Before you even think about grabbing a drill, the absolute first step in Getting Ready to Hang Laundry Room Cabinets is figuring out exactly where they'll go and what purpose they'll serve. Are you storing bulky detergent jugs, fabric softener, stain removers, or maybe just extra towels? Knowing what you need to store dictates the size and type of cabinets you'll choose. Measure your wall space carefully – height, width, and depth – and account for any obstructions like pipes or electrical outlets. Sketching out a simple plan on paper helps visualize the layout and ensures you buy cabinets that actually fit the space you have. Don't just guess; a tape measure is your best friend here.
Tools and Prep: What You Need Before You Hang Laundry Room Cabinets

Tools and Prep: What You Need Before You Hang Laundry Room Cabinets
Gathering Your Measuring and Marking Arsenal
Alright, let's talk tools. You can't just eyeball this stuff unless you enjoy crooked cabinets and future headaches. Before you even think about drilling, you need to gather the right gear for marking and measuring. A good tape measure is non-negotiable; get one that's easy to read and sturdy. You'll need a stud finder, and frankly, a reliable electronic one beats tapping on walls any day. A level is crucial – a long one (4-6 feet) is best for ensuring your cabinet run is straight, but a smaller torpedo level helps with individual boxes. Don't forget a pencil for marking stud locations and cabinet lines. Blue painter's tape is also a lifesaver for marking without damaging walls and giving you a visual guide.
- Tape measure (at least 25 feet)
- Reliable electronic stud finder
- 4-6 foot level
- Small torpedo level
- Pencil
- Blue painter's tape
Power Tools and Safety First
Now for the fun part – the power tools. You'll definitely need a drill/driver. Make sure it's charged or plugged in and has enough torque to drive screws through cabinet frames and into studs. You'll also need drill bits for pilot holes and driver bits that match your screw heads. Safety isn't optional; it's the difference between finishing the job with all your fingers and explaining a trip to the ER. Grab safety glasses – sawdust and flying debris are real hazards. Work gloves can save your hands from splinters and pinches. If you're cutting anything, hearing protection is a smart move too. Don't skip the safety gear; it's cheap insurance.
Fasteners and Making it Stick
The hardware holding your cabinets to the wall is critical when you learn how to hang laundry room cabinets. You need cabinet mounting screws – long enough to go through the cabinet back, drywall, and at least 1.5 inches into a stud. Typically, 2.5 to 3-inch screws work well. Use cabinet screws with a washer head or add washers to prevent pull-through. If you can't hit studs for every screw, you'll need heavy-duty toggle bolts or similar anchors rated for the weight your cabinets will hold when loaded. Don't skimp on fasteners; your future self (and your ceiling) will thank you. A ledger board – a straight 1x3 or 1x4 piece of lumber screwed temporarily to the wall and leveled – provides a resting point for the cabinets while you secure them, making solo installation much easier.
Essential Fasteners | Purpose | Why You Need Them |
|---|---|---|
Cabinet Mounting Screws | Securing cabinet to studs | Primary support, load-bearing |
Toggle Bolts/Anchors | Securing cabinet where no stud exists | Secondary support for stability |
Wood Screws (for ledger) | Attaching temporary support board | Holds cabinet weight during installation |
The NittyGritty: How to Hang Laundry Room Cabinets StepbyStep
The NittyGritty: How to Hang Laundry Room Cabinets StepbyStep
you've got your gear, you've mapped out your space, and you haven't lost any fingers yet – excellent. Now comes the actual work of figuring out how to hang laundry room cabinets step-by-step. First things first, use that stud finder you hopefully invested in. Mark the center of every stud where your cabinets will go. Snap a level line across the wall at the desired bottom height of your cabinets. This is where your ledger board comes in. Screw that temporary board firmly into the studs along your level line. This takes the back-breaking weight off your shoulders while you maneuver the cabinets into place. Trust me, trying to hold a cabinet box and screw it in at the same time is a recipe for frustration, or worse, a dropped cabinet.
After the Hang: Securing and Finishing Your Laundry Room Cabinets
After the Hang: Securing and Finishing Your Laundry Room Cabinets
the cabinet box is resting on the ledger board. Good. Now is not the time to high-five yourself and walk away. This is where you secure it properly and make sure it's not going to sag or pull away from the wall. Drive those long cabinet screws through the back rail of the cabinet and into the studs you marked earlier. Use at least two screws per stud, ideally staggered vertically. If you can't hit a stud, this is where your heavy-duty anchors come in. Drill the appropriate size hole and install the anchors according to their instructions before driving screws into them. Now, grab your level again. Check the face of the cabinet side-to-side and front-to-back. If it's not perfectly plumb (vertical) or level (horizontal), you can use shims behind the cabinet where it meets the wall to push it out slightly until it is. Drive your screws through the shims. Don't overtighten and distort the cabinet frame.
Finishing the Job: Enjoying Your Hung Cabinets
So, you've tackled the task of hanging laundry room cabinets. It wasn't rocket science, but it definitely wasn't just slapping wood on a wall either. You measured, you located studs, you probably muttered a few choice words when a screw didn't go in perfectly straight. But now they're up there. They hold the detergent, the dryer sheets, maybe even hide that pile of things waiting to be ironed (we all have one). The space looks less like a disaster zone and more like, well, a room with storage. They should stay put, assuming you followed the steps and didn't skip finding those studs. Now, the only thing left is to actually fill them and perhaps admire the fact that you successfully added functional storage without calling a contractor. Not bad.