Table of Contents
Tired of hauling buckets of soapy water to the bathroom sink after washing delicates or pre-treating stains? Dreaming of a more efficient and convenient laundry space? Then it's time to consider installing a laundry room sink! This comprehensive guide will walk you through the entire process of installing a laundry room sink, from initial planning and preparation to the final installation and maintenance. We'll cover everything you need to know, from choosing the right location and gathering the necessary tools and materials to tackling the plumbing and finishing touches. Whether you're a seasoned DIY enthusiast or a complete beginner, we'll provide clear, step-by-step instructions and helpful tips to ensure a successful installation. Forget struggling with overflowing laundry baskets and messy cleanup – let's transform your laundry room into the organized and efficient space you've always wanted. Learn the secrets to a smooth and stress-free "Installing a laundry room sink" project. This guide is your key to a more functional and enjoyable laundry experience.
Planning Your Laundry Room Sink Installation

Planning Your Laundry Room Sink Installation
Choosing the Right Sink and Location
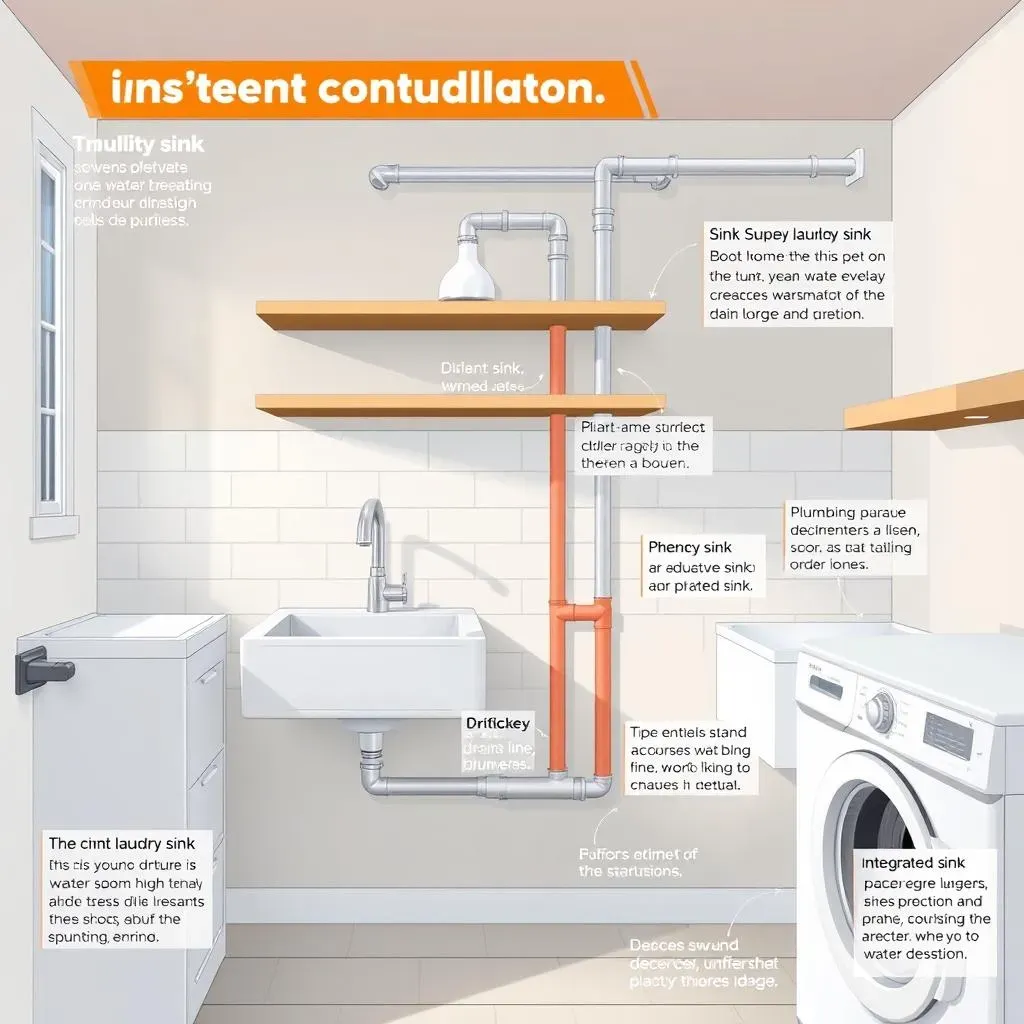
Before you even think about grabbing a wrench, the most crucial step in installing a laundry room sink is careful planning. Think of it like building a house – you wouldn't start laying bricks without a blueprint, right? First, decide what kind of sink you want. A standard utility sink is a classic choice, but you could also go for a more stylish integrated model, depending on your laundry room's aesthetic and available space. Consider the sink's dimensions – measure your laundry room carefully to ensure a proper fit. You don't want to end up with a sink that's too big or too small for the space! Placement is key too. Ideally, your sink should be close to existing plumbing lines to simplify installation and minimize extra work. Proximity to the washing machine is also a plus, allowing for easy rinsing and draining of items. Think about the workflow in your laundry room; where will the sink best support your routines?
Sink Type | Pros | Cons |
|---|---|---|
Standard Utility Sink | Affordable, readily available, durable | Can look basic, may require more installation work |
Integrated Sink | Stylish, seamless look, potentially easier to clean | More expensive, less variety in sizes and styles |
Assessing Plumbing and Electrical Needs
Next, you'll need to assess your existing plumbing and electrical infrastructure. Locate your home's water supply lines and drain lines. If the sink location isn't conveniently close to these, you might need to extend the pipes, which can add to the complexity and cost of the project. Take note of the pipe diameters as well – this will determine the size of connectors and fittings you'll need. Don't forget about the electrical needs of your new sink! If you're planning on installing an electric faucet, make sure you have a nearby outlet. If not, you'll need to run a new electrical line, which is another project entirely!
- Check for existing plumbing lines near your desired sink location.
- Determine if pipe extension is necessary and feasible.
- Note the diameter of existing water supply and drain lines.
- Assess electrical requirements for the faucet and any other accessories.
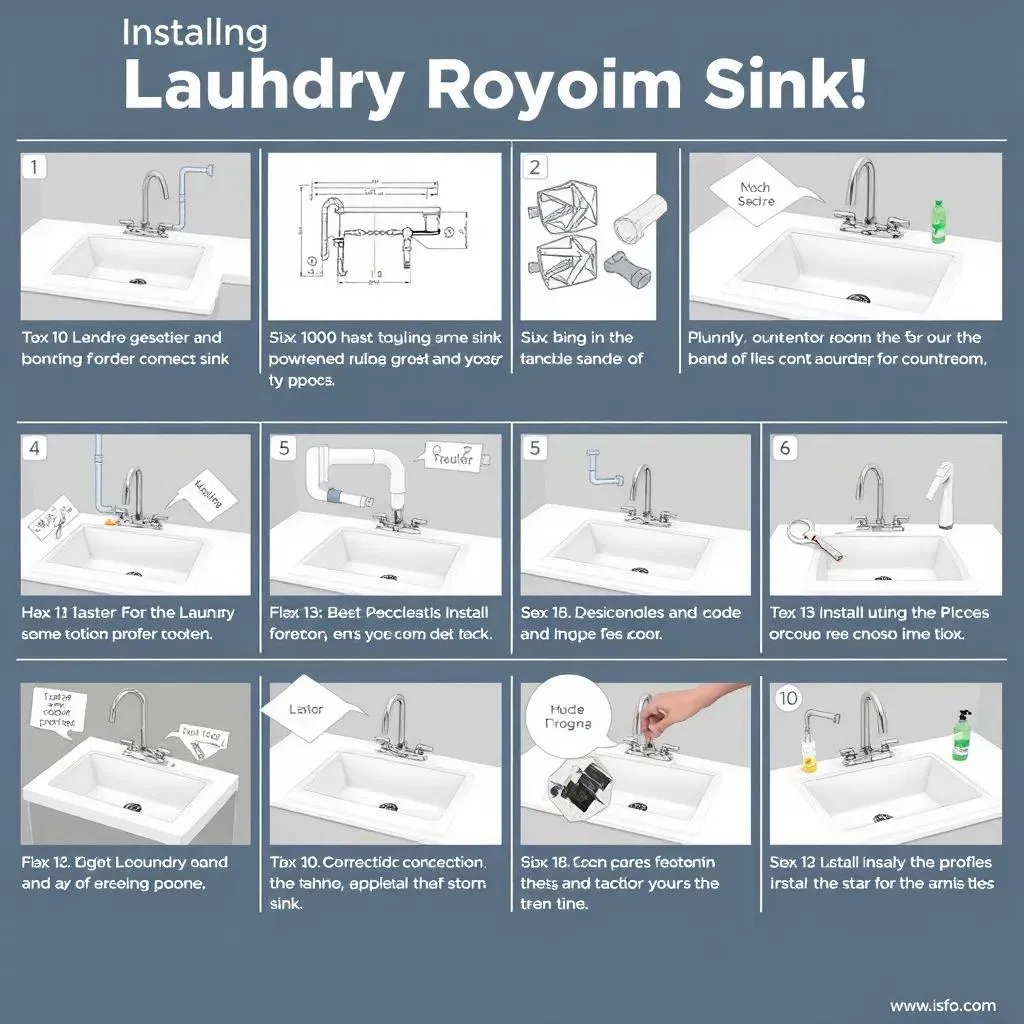
Installing the Laundry Room Sink: A StepbyStep Guide

Installing the Laundry Room Sink: A StepbyStep Guide
Gathering Your Tools and Materials
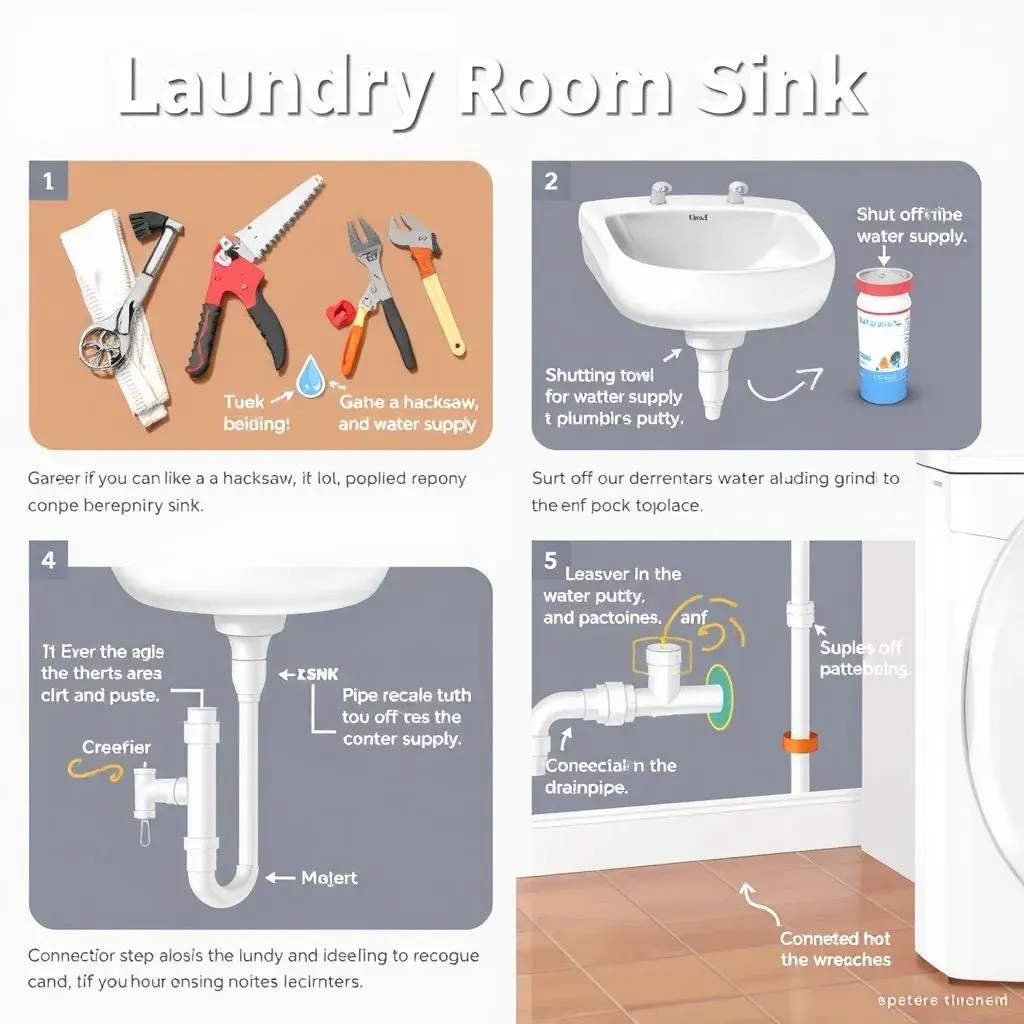
Alright, let's get our hands dirty! Before you even touch a pipe, make sure you've gathered all the necessary tools and materials. This isn't a trip to the grocery store; you need a proper arsenal for this project. Think of it like prepping for a battle – you wouldn't go into a war without your weapons, would you? You'll need things like a hacksaw, pipe wrenches, pliers, a level, plumber's putty, and of course, your sink, faucet, drainpipe, and all the necessary connectors and fittings. Make a detailed checklist – trust me, you'll thank me later! Double-check everything before you begin. There's nothing worse than being halfway through the project only to realize you're missing a crucial part!
- Hacksaw
- Pipe wrenches (various sizes)
- Pliers
- Level
- Plumber's putty
- Teflon tape
- Sink, faucet, drainpipe, and all necessary connectors and fittings
Shutting Off the Water Supply
Safety first! Before you start cutting into any pipes, you absolutely *must* turn off the main water supply to your house. This isn't optional; it's a crucial safety precaution to prevent flooding and potential damage. Locate your main water shut-off valve – it's usually near where the water line enters your home. Turn it clockwise to shut off the water completely. Once you've done that, turn on a faucet to double-check that the water is indeed off. Trust me, you don't want to discover this the hard way!
Step | Action | Important Note |
|---|---|---|
1 | Locate main water shut-off valve. | This is usually near where the water line enters your home. |
2 | Turn the valve clockwise to shut off the water. | Turn it until it stops. |
3 | Turn on a faucet to verify the water is off. | No water should come out. |
Troubleshooting and Maintaining Your New Laundry Room Sink
Dealing with Leaks
So, you've successfully installed your laundry room sink—congratulations! But what happens if, despite your best efforts, you encounter a leak? Don't panic! Leaks are common plumbing issues, and often have simple solutions. First, carefully inspect all connections. Look for loose nuts, cracked pipes, or faulty seals. Tighten any loose connections, and replace any damaged parts. If the leak persists, you might need to check your drain trap or even the faucet itself. A little plumber's putty or Teflon tape can go a long way in sealing those pesky leaks. Remember, prevention is key! Regularly check your connections for tightness, and replace worn-out parts promptly.
If you're not comfortable tackling plumbing issues yourself, don't hesitate to call a professional plumber. They have the expertise and tools to quickly diagnose and fix the problem, saving you time and potential headaches. It's always better to be safe than sorry, and fixing a leak promptly prevents further damage and potential water damage to your laundry room.
Leak Location | Possible Cause | Solution |
|---|---|---|
Faucet | Loose connections, worn-out O-rings | Tighten connections, replace O-rings |
Drainpipe | Cracked pipe, loose connections | Replace cracked pipe, tighten connections |
Drain Trap | Loose connections, faulty seals | Tighten connections, replace seals |
Keeping Your Sink Sparkling Clean
Maintaining your new laundry room sink is just as important as installing it. Regular cleaning will prevent buildup and ensure your sink stays looking its best. A simple solution of warm water and dish soap is usually sufficient for everyday cleaning. For tougher stains, you can use a mild bleach solution, but always test it on an inconspicuous area first. Avoid using harsh chemicals, as these can damage the sink's finish. Remember to rinse thoroughly after cleaning. For stubborn stains, a paste of baking soda and water can work wonders. Gently scrub the paste onto the stain, let it sit for a few minutes, and then rinse with water. You might be surprised at how effective this simple solution can be!
To avoid clogs, avoid pouring grease or other sticky substances down the drain. Regularly check your drain for any buildup or blockages, and use a drain snake or plunger if necessary. A simple preventative measure is to flush the drain with a kettle of boiling water once a month to melt away any grease residue. This simple step can save you a lot of trouble in the long run!
- Clean regularly with warm water and dish soap.
- Use a mild bleach solution for tougher stains (test first).
- Avoid harsh chemicals.
- Rinse thoroughly after cleaning.
- Use a drain snake or plunger for clogs.
Preventing Future Problems
"An ounce of prevention is worth a pound of cure," as the old saying goes. And that's especially true when it comes to maintaining your laundry room sink. Regular maintenance is key to preventing costly repairs and ensuring your sink lasts for years to come. This means checking connections regularly, ensuring proper drainage, and promptly addressing any minor issues before they escalate into major problems. Think of it like regular car maintenance – a little attention now can save you from a major breakdown later.
Beyond regular cleaning and leak checks, make sure you're not overloading your drain with excessive debris. Use a strainer to catch hair, lint, and other small items that could clog your drain. And don’t forget about the importance of a good quality drain snake – it's your best friend for tackling clogs before they become major headaches! This simple tool can save you from a lot of frustration and potential plumbing bills.
