Table of Contents
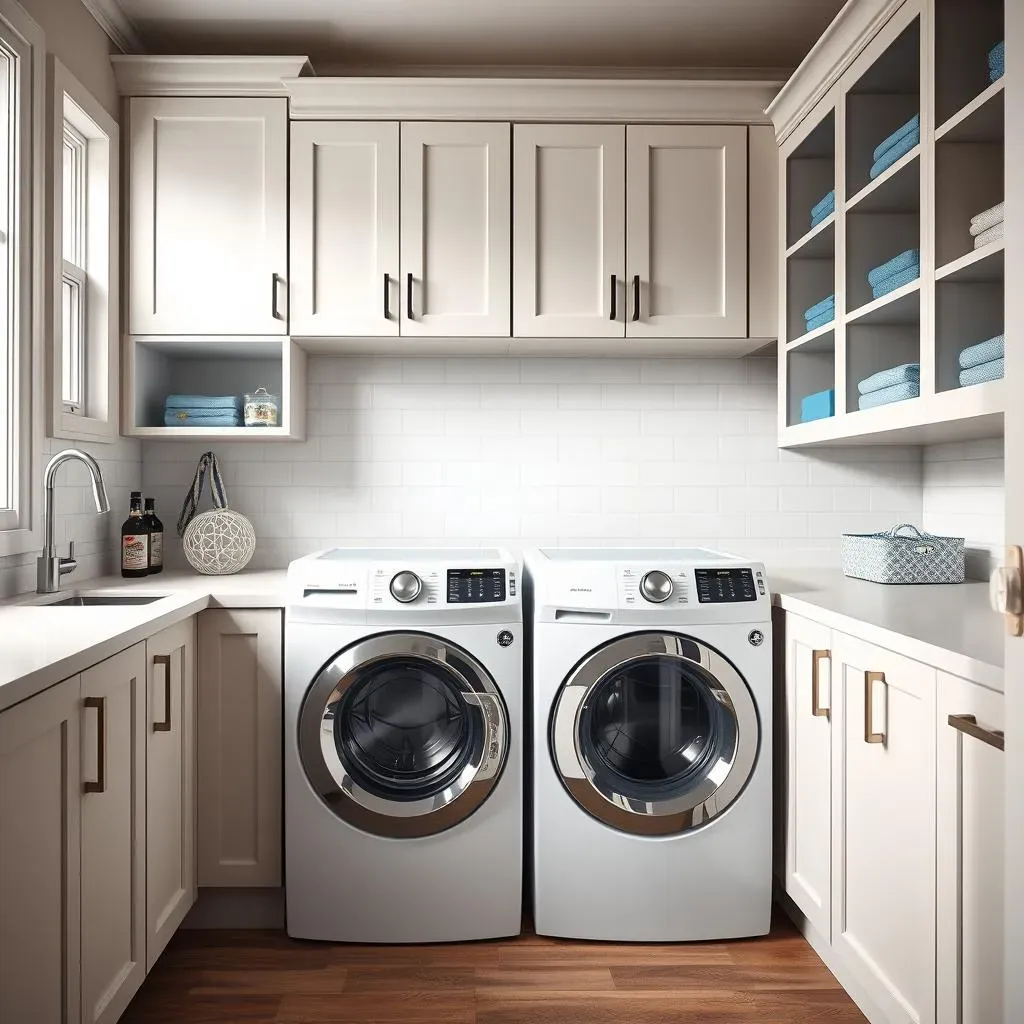
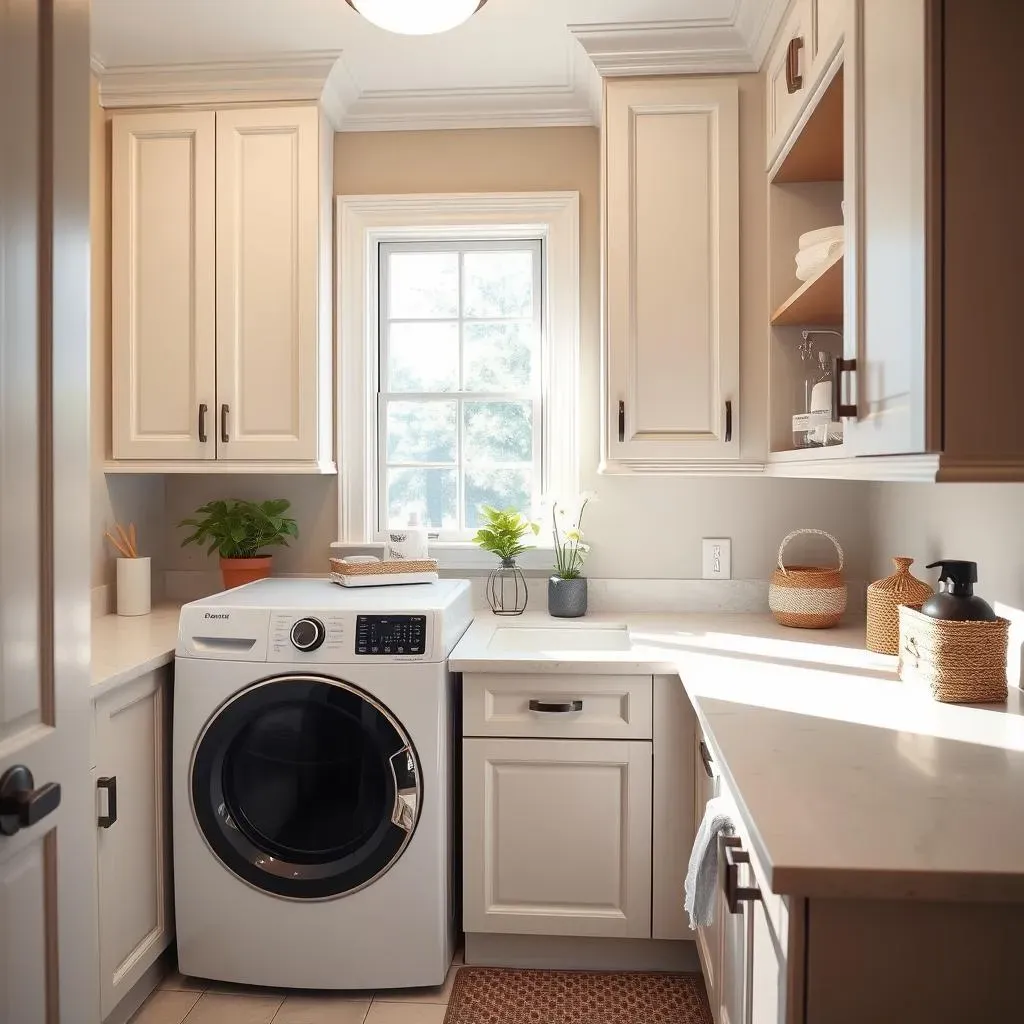
Tired of that chaotic laundry room? Wish you had more storage space? Then get ready to roll up your sleeves and tackle a project that will transform your laundry area from a disorganized mess into a sleek, efficient haven! This comprehensive guide focuses on installing laundry room cabinets, a simple yet rewarding DIY project that can dramatically improve your home's functionality and aesthetic appeal. We'll walk you through every step, from careful planning and choosing the right cabinets for your space (maybe even some snazzy cabinet designs!), to the actual hanging and finishing touches. Whether you're a seasoned DIYer or a complete novice, we've got you covered with clear instructions, helpful tips, and even some ideas for adding those extra special touches. Get ready to conquer the challenge of installing laundry room cabinets and discover the joy of a beautifully organized laundry room. We'll explore various cabinet options, material choices, and installation techniques to help you achieve the laundry room of your dreams. So, let's dive in and discover the simple steps to a more organized and stylish laundry space! This article is your roadmap to success in installing laundry room cabinets, ensuring a smooth and satisfying experience from start to finish. Remember, a little planning goes a long way, and we'll help you navigate every step of the process.
Planning Your Laundry Room Cabinet Installation

Planning Your Laundry Room Cabinet Installation
Measuring and Assessing Your Space
Before you even think about ordering cabinets, grab your measuring tape and get to work! Accurately measuring your laundry room is crucial. Note the dimensions of the walls, the location of pipes, electrical outlets, and the washing machine and dryer. Consider the available space and how you want to use it. Do you need lots of storage for detergents and cleaning supplies? Or are you primarily focused on maximizing the space around your appliances? Thinking about these things beforehand will help you choose the right size and style of cabinets. Don't forget to check for any obstacles that might affect your cabinet placement, such as awkwardly placed pipes or electrical outlets. This initial assessment is like laying the foundation for a house—it’s the most important step in the whole process!
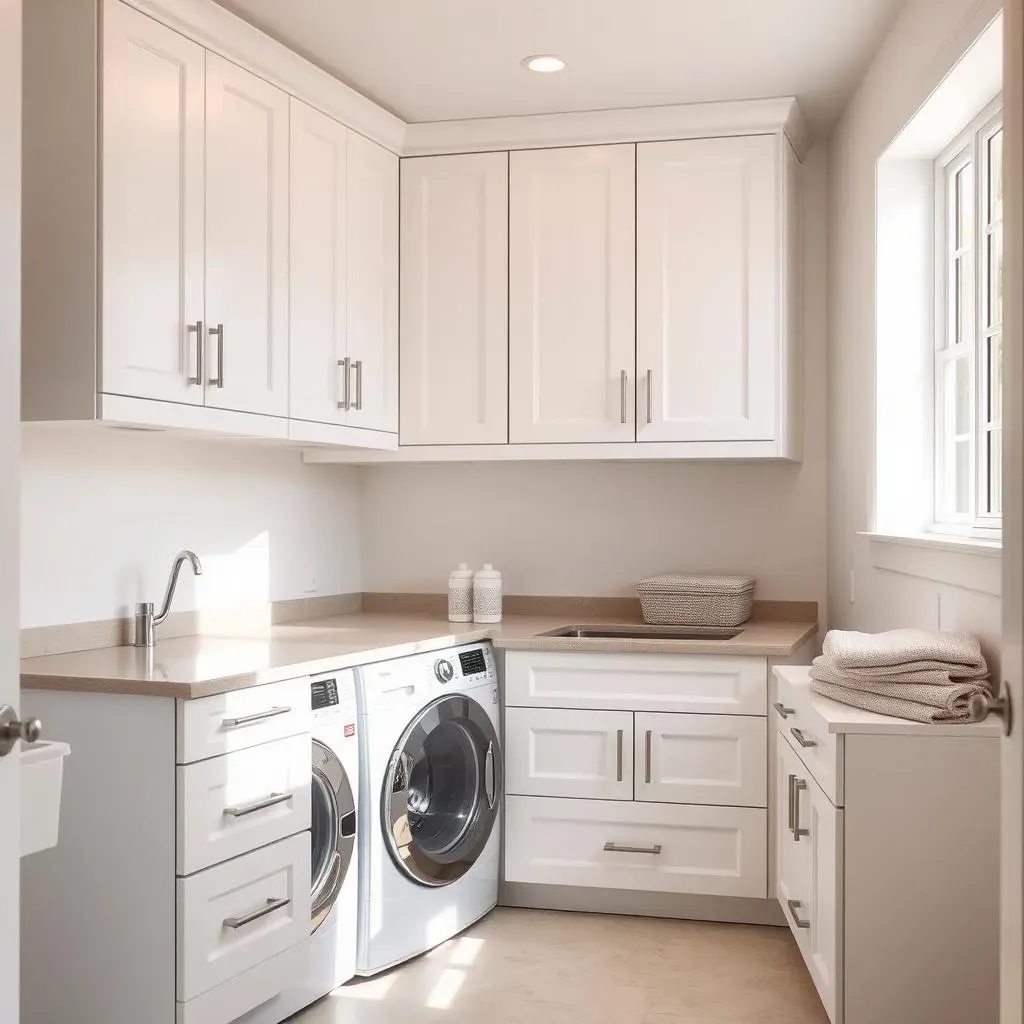
For example, if you have a small laundry room, you might want to consider small laundry room cabinet ideas that are both functional and space-saving. If you have a larger space, you might explore different cabinet designs to create a more customized look. Remember, careful planning prevents costly mistakes down the line!
Measurement | Notes |
|---|---|
Wall Length | Include any irregularities |
Wall Height | Consider space above washer/dryer |
Space between appliances | Account for doors opening |
Choosing Your Cabinets: Style, Size, and Material
Now for the fun part: picking out your cabinets! There are tons of options available, from stock cabinets you can find at most home improvement stores to custom-made options. Stock cabinets are generally more affordable, but they might not fit your space perfectly. Custom cabinets are more expensive but offer a perfect fit and can be tailored to your exact needs and style preferences. Think about the style you’re aiming for—modern, traditional, rustic? Consider the color and material; will it complement your existing decor? Do you prefer solid wood, which is durable but more expensive, or a more budget-friendly alternative like MDF (Medium-Density Fiberboard)? Choosing the right material can drastically affect the longevity and aesthetic of your cabinets.
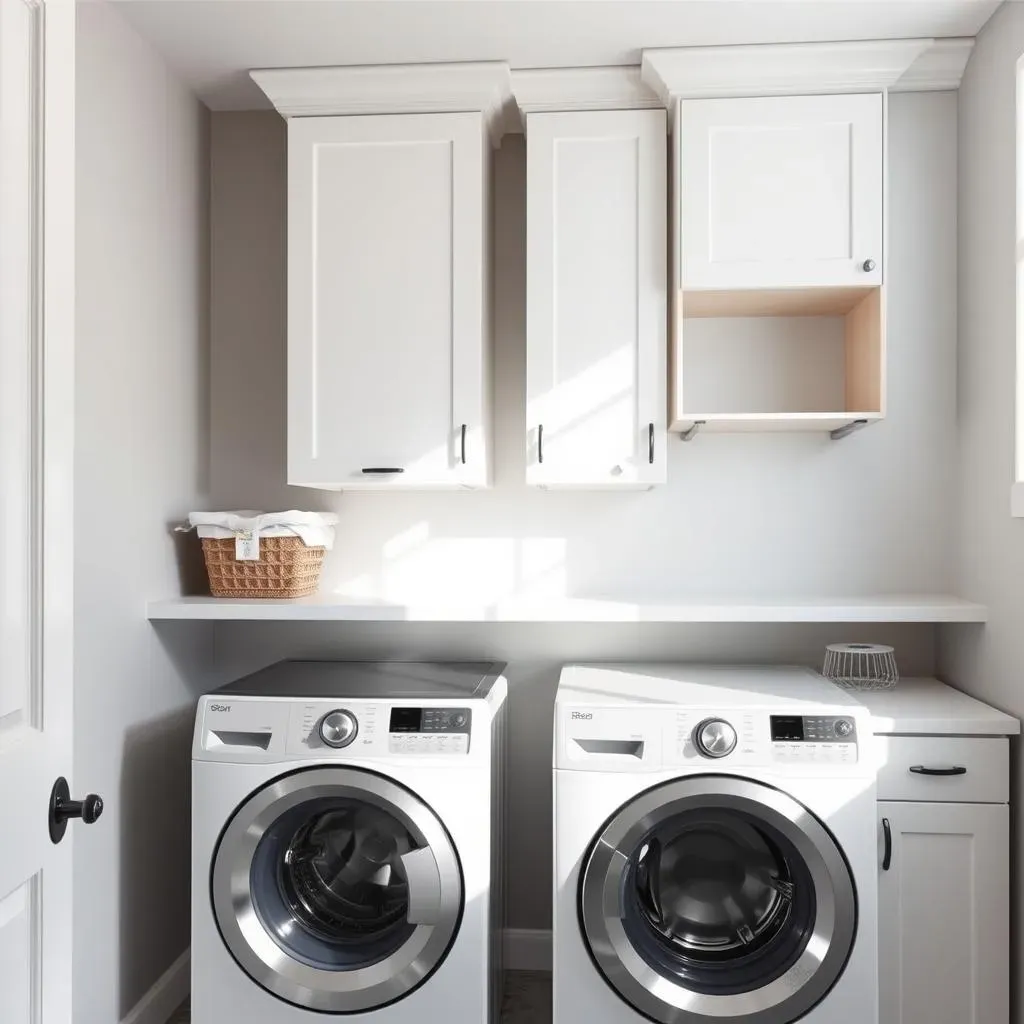
Consider the size and number of cabinets you need based on your measurements and storage requirements. Do you need base cabinets, wall cabinets, or a combination of both? If you want cabinets that sit above your washer and dryer, be sure to measure the height and width of your appliances carefully. We have a great selection of cabinets for over washer and dryer to fit almost any space. Remember to factor in the cost of the cabinets, installation, and any additional accessories you may want to add. Planning this out beforehand will make the whole process much smoother.
- Measure twice, cut once!
- Consider your budget carefully.
- Don't be afraid to ask for help!
Installing Your Laundry Room Cabinets: A Practical Guide

Installing Your Laundry Room Cabinets: A Practical Guide
Preparing the Walls and Cabinets
Before you even think about lifting a cabinet, you need to prep your walls. This means finding and marking your wall studs—they're the strong vertical supports in your walls. Use a stud finder to locate them; trust me, this is a lifesaver! Once you've found them, mark their location clearly on the wall. This is where you'll be attaching your cabinets for maximum stability. Next, carefully inspect the back of your cabinets. Some might need extra support, especially if you're installing cabinets above your appliances. If needed, consider adding extra bracing or support pieces to the cabinet backs to ensure they can handle the weight.
Also, consider the type of wall you're working with. Is it drywall, plaster, or something else? This will determine the type of screws and fasteners you'll need. Using the wrong fasteners can lead to wobbly cabinets and even damage to your walls. If you're unsure, don't hesitate to consult a professional. A little extra preparation now will save you headaches later. Choosing the right screws is key to a successful installation. Remember to pre-drill pilot holes in your cabinets before screwing them into the wall to prevent the wood from splitting. That's a pro tip from someone who's learned the hard way!
- Use a stud finder to locate wall studs.
- Mark stud locations clearly.
- Inspect cabinet backs for additional support needs.
- Choose appropriate screws for your wall type.
- Pre-drill pilot holes to prevent splitting.
Hanging the Cabinets
With your walls prepped and your cabinets ready, it's time to hang them! Start by attaching a ledger board—a horizontal piece of wood—to the wall studs at the desired height for your first row of cabinets. This ledger board provides a solid, level base for your cabinets to rest on. Leveling is key here; use a level to make sure the ledger board is perfectly horizontal. This ensures your cabinets will hang straight and look great. Once the ledger board is securely attached, carefully lift and position your first cabinet onto the ledger board, aligning it with the marked stud locations. Secure it to the studs using appropriate screws. Remember, teamwork makes the dream work! Having someone help you lift and hold the cabinets can make this process much easier and safer.
Continue hanging the remaining cabinets, ensuring each one is level and securely attached to the wall studs. Use shims—small, wedge-shaped pieces of wood—to adjust the cabinets if needed. Shims are essential for leveling cabinets on uneven walls, ensuring they hang perfectly straight. You might need to use cabinet accessories to help with this process. Once all cabinets are installed, take a step back and admire your handiwork! Remember to check that all doors and drawers open and close smoothly. If not, you might need to make some minor adjustments. Don't rush the installation; take your time and ensure everything is properly aligned and secured.
Step | Description |
|---|---|
1 | Attach ledger board to wall studs. |
2 | Level ledger board. |
3 | Position and secure first cabinet. |
4 | Continue hanging cabinets, using shims as needed. |
Finishing Touches and Customization Options

Finishing Touches and Customization Options
Adding Cabinet Doors and Hardware
With the cabinets hung, it's time to add the finishing touches! Installing cabinet doors and hardware is a relatively straightforward process, but attention to detail makes all the difference. Carefully align each door and drawer, ensuring they open and close smoothly. Use the appropriate screws and hardware for your cabinet type. If you're unsure about any step, consult the manufacturer's instructions. Choosing the right hardware can drastically change the look of your cabinets. Do you prefer sleek, modern knobs or more traditional handles? Consider the overall style of your laundry room when selecting your hardware. A little extra time spent here will make a big difference in the finished look of your project. Also, remember to check the alignment of your doors and drawers after installation; you might need to make slight adjustments to ensure they open and close smoothly.
For a truly customized look, consider adding decorative molding or trim to your cabinets. Molding can add a touch of elegance and sophistication to your laundry room. You can find various styles of molding at most home improvement stores. Remember to carefully measure and cut the molding to ensure a perfect fit. If you're not confident in your DIY skills, you can always hire a professional to install the molding. But trust me, it’s a satisfying touch to add yourself! We have some great ideas for laundry room cabinet molding that will perfectly complement your new cabinets. Think about how you can personalize your cabinets to reflect your style.
Hardware Type | Pros | Cons |
|---|---|---|
Knobs | Easy to install, space-saving | Can be less comfortable to use |
Handles | More comfortable to grip, various styles | Can take up more space |
Adding Shelves and Counter Tops
Adding shelves and countertops can significantly boost your laundry room's functionality and aesthetics. Shelves provide extra storage space for detergents, cleaning supplies, and other laundry essentials. Measure the space carefully before purchasing shelves to ensure a proper fit. You can choose from various materials, such as wood, metal, or wire. Consider the weight capacity of the shelves when selecting materials. If you are installing shelves above your washer and dryer, make sure they are strong enough to support the weight of the items you plan to store on them. A well-organized laundry space makes doing laundry much less of a chore. And isn't that what we all want?
Countertops add a touch of elegance to your laundry room while providing a convenient work surface for folding clothes or sorting laundry. Choose a material that is durable, water-resistant, and easy to clean. Laminate is an affordable option, while granite or quartz offer a more luxurious look. The countertop material should complement the style of your cabinets and the overall design of your laundry room. Remember to consider the weight of the countertop when installing it. You might need extra support under the countertop to prevent sagging or damage to your cabinets. Check out our selection of cabinets with countertops for inspiration.
- Measure carefully before purchasing shelves.
- Choose durable and water-resistant countertop material.
- Consider weight capacity for shelves and countertops.
Final Touches and Organization
The final touches can elevate your laundry room from merely functional to truly stylish and organized. Consider adding a backsplash to protect your walls from splashes and spills. A backsplash adds a decorative touch to the laundry room while providing practical protection. Choose a material that is easy to clean and durable. You can choose from various materials, such as tile, glass, or stainless steel. The backsplash should complement the style of your cabinets and countertops. A little attention to detail can make a big difference.
Finally, don't forget about organization! Adding drawer dividers, shelf organizers, and other storage solutions can help you keep your laundry room clutter-free. Proper organization makes it easier to find what you need when you need it. Choose storage solutions that are both functional and stylish. Consider using baskets, bins, or labeled containers to keep things tidy. Think about how you can maximize the storage space in your laundry room. A well-organized laundry room is a happy laundry room! To help with organization, consider browsing through our tips on laundry room cabinet organization.
