Table of Contents
Ever feel like your laundry room is more chaos than calm? I hear you. Lately, I've been under the weather, hence the quiet on the blog front. But during that downtime, my eyes kept landing on our rather sad laundry space. It screamed for an upgrade, something with charm and, most importantly, more storage. That's when the idea of crafting some **rustic laundry room shelves** took root. My amazing husband and I rolled up our sleeves and got to work, transforming our cluttered corner with some lumber and a vision. We're talking about simple 2x2s, 1x12s, and 1x3s becoming beautiful, functional shelves. I even mixed up a custom stain to get that perfect weathered look. Ready to ditch the drab and bring some warmth and organization to your laundry area? This guide will walk you through building your own gorgeous **rustic laundry room shelves**, step by simple step, plus how I styled them to really make the space pop. Let's get building!
Building Your Dream Rustic Laundry Room Shelves

Building Your Dream Rustic Laundry Room Shelves
Planning Your Perfect Shelves
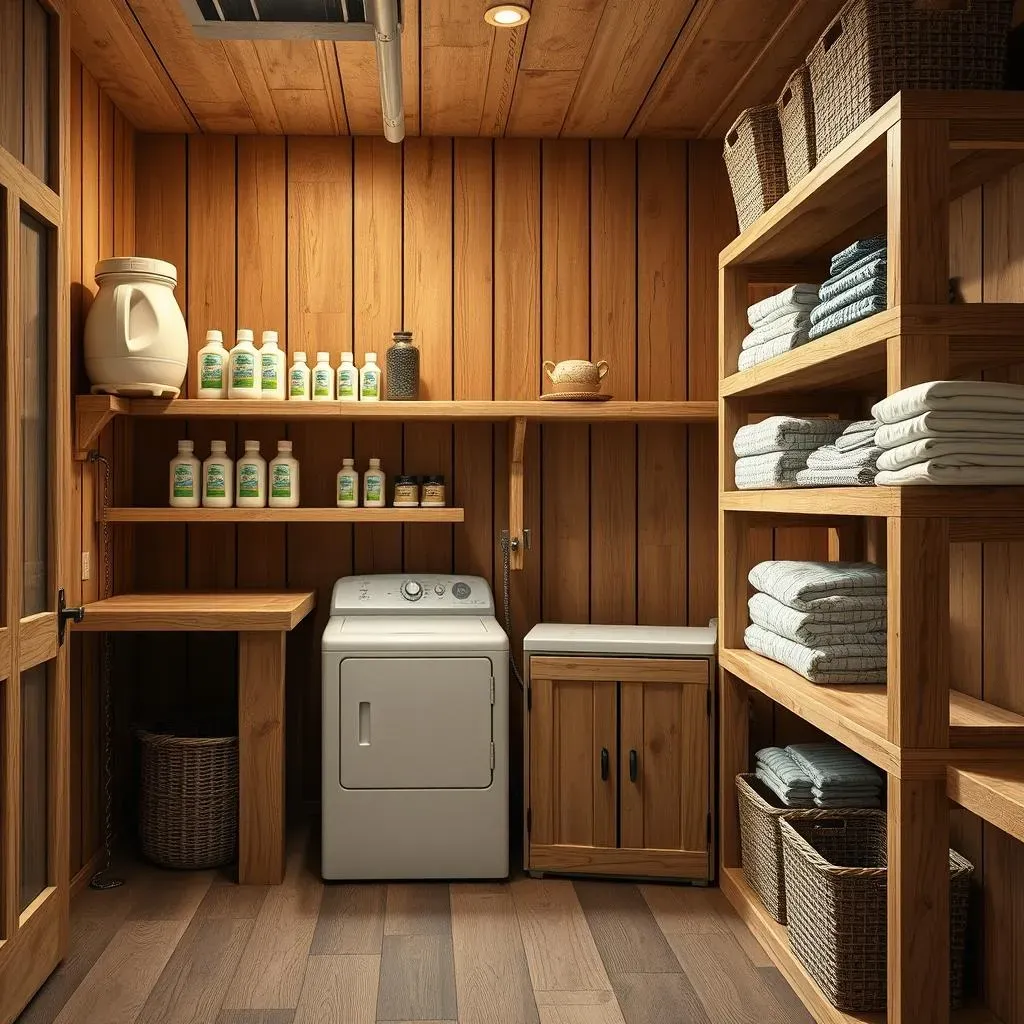
Alright, so you're dreaming of gorgeous, **rustic laundry room shelves**, right? First things first, let's talk planning. Before you even think about picking up a piece of wood, take a good hard look at your laundry room. What are your pain points? Is it mountains of detergent bottles? Piles of neatly folded (or not-so-neatly folded) clothes? Knowing what you need to store will dictate the size and number of shelves you build. For me, it was about taming the detergent chaos and having a pretty spot for some decorative touches. Think about the vertical space you have – going taller can sometimes be a lifesaver in smaller rooms. And don't forget to measure, measure, measure! Trust me on this one; there's nothing worse than building a beautiful shelf that doesn't actually fit where you want it to go.
My laundry room had this awkward little nook next to the powder room, begging for some love. That's where the vision for these shelves really started to take shape. We knew we wanted something substantial, not just a flimsy wire rack. So, we sketched out a basic design, figuring out the height and width we needed. We also decided on the spacing between the shelves based on the tallest items we planned to store. Think about those big detergent jugs! And a little tip: taking pictures of your space and even mocking up the shelves with cardboard can really help you visualize the final product. It sounds a bit extra, but it can save you headaches later on.
Gathering Your Supplies
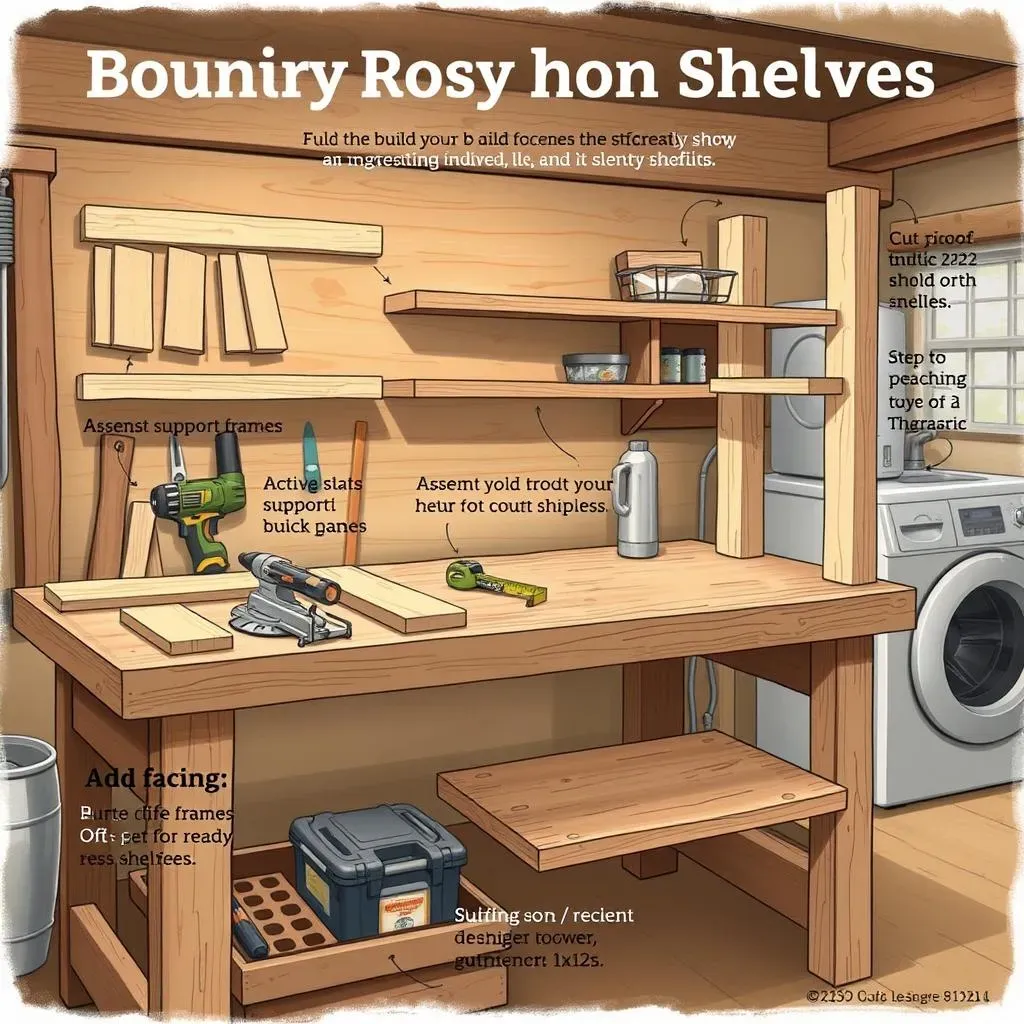
Once you've got your plan nailed down, it's time for the fun part: gathering your supplies! For these **rustic laundry room shelves**, we kept it pretty simple. We opted for 2x2s for the support structure – they're sturdy and give that nice, chunky look. For the actual shelves, we used 1x12s, which offer a good amount of depth. And to give the front edge a bit more visual interest, we added 1x3s as a facing. Don't forget the little things like screws, wood glue (a lifesaver!), sandpaper for a smooth finish, and your chosen stain.
Speaking of stain, I was on a mission for the perfect rustic color. I ended up mixing my own concoction using Minwax Special Walnut and Minwax Classic Gray. Don't be afraid to experiment! You can always test different stain combinations on scrap wood until you find the one you love. You'll also need some basic tools: a saw (we used a miter saw for nice, clean cuts), a drill, a sander, and some measuring tools. Oh, and safety glasses! Seriously, protect those peepers. Trust me, a trip to the emergency room is not a fun addition to a DIY project.
- 2x2 lumber (for supports)
- 1x12 lumber (for shelves)
- 1x3 lumber (for shelf facing - optional)
- Wood screws
- Wood glue
- Sandpaper
- Wood stain
- Safety glasses
- Measuring tape
- Pencil
- Saw (miter saw recommended)
- Drill
- Sander
StepbyStep Guide to Crafting Rustic Laundry Room Shelves

StepbyStep Guide to Crafting Rustic Laundry Room Shelves
Cutting the Wood for Your Rustic Shelves
Alright, you've got your wood, your plan, and maybe even that perfect stain swirling in your mind. Now comes the satisfying part: making those cuts! Grab your measuring tape and mark all your cut lines clearly on the wood. Remember that saying, "measure twice, cut once"? It's annoyingly true. For the 2x2 supports, you'll need to decide on the overall height of your shelves and cut accordingly. Think about whether you want them to go all the way to the ceiling or stop a bit lower. For the 1x12 shelves, measure the width you want them to span. If you're adding the 1x3 facing, cut those pieces to the same width as your shelves.
Now, fire up that saw! If you're using a miter saw, make sure your angles are set correctly for nice, square cuts. Go slow and steady, letting the saw do the work. There's no need to rush and risk a wonky cut or, even worse, an injury. Once all your pieces are cut, give the ends a quick sanding to smooth out any rough edges. This will not only make them look better but also prevent splinters later on. Nobody wants a splinter from their beautiful new shelves!
Assembling the Shelf Supports
With all your wood cut and sanded, it's time to bring those **rustic laundry room shelves** to life! Start by assembling the support frames. Decide how far apart you want your supports to be – this will depend on the length of your shelves and how much weight you anticipate them holding. For a standard shelf, placing supports at each end and maybe one in the middle for longer shelves is usually a good bet. Apply a bit of wood glue to the joining surfaces of the 2x2s – this adds extra strength. Then, using your drill and screws, attach the vertical supports to the horizontal pieces, forming a sort of ladder structure.
Make sure everything is square! A square is your best friend in woodworking. If your supports aren't square, your shelves won't sit level, and that's just a recipe for disaster (and maybe some tumbling detergent bottles). Don't be afraid to use clamps to hold pieces together while you screw them. This makes the whole process much easier and more accurate. Wipe away any excess wood glue with a damp cloth before it dries. Once the glue is dry, those supports will be surprisingly sturdy.
Material | Purpose | Quantity |
|---|---|---|
2x2 Lumber | Shelf Supports | Varies based on design |
1x12 Lumber | Shelf Boards | Varies based on design |
1x3 Lumber (Optional) | Shelf Facing | Varies based on design |
Attaching the Shelves and Adding the Facing
Now for the moment you've been waiting for: attaching the actual shelves! Carefully place a 1x12 shelf board onto your assembled supports. Make sure it's centered and overhangs the supports evenly on each side (if that's the look you're going for). Again, a little wood glue on top of the supports before you place the shelf is a good idea for extra stability. Then, using your drill, screw the shelf board down into the supports from the top. Space your screws evenly for a clean look and a secure hold.
If you're adding the 1x3 facing, this is where it comes in. Apply a bead of wood glue to the front edge of the 1x12 shelf. Then, carefully position the 1x3 facing piece and clamp it in place. Use small finishing nails or brad nails to attach the facing to the shelf. This gives the shelves a more substantial, finished appearance and hides the exposed edge of the plywood (if you're using plywood). Once all the shelves are attached and the facing is on, take a step back and admire your handiwork! You're one step closer to having those gorgeous **rustic laundry room shelves**.
Styling Your New Rustic Laundry Room Shelves

Styling Your New Rustic Laundry Room Shelves
Bring on the Baskets and Bins
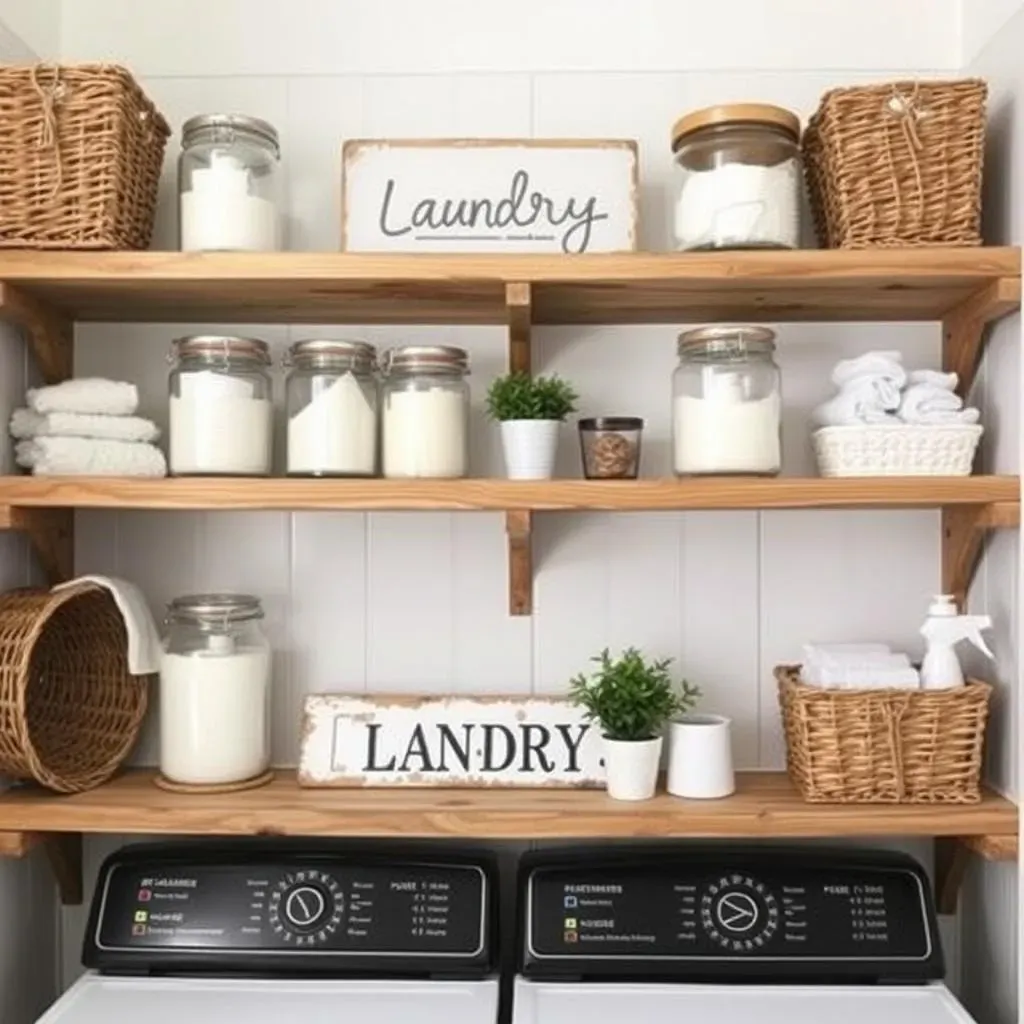
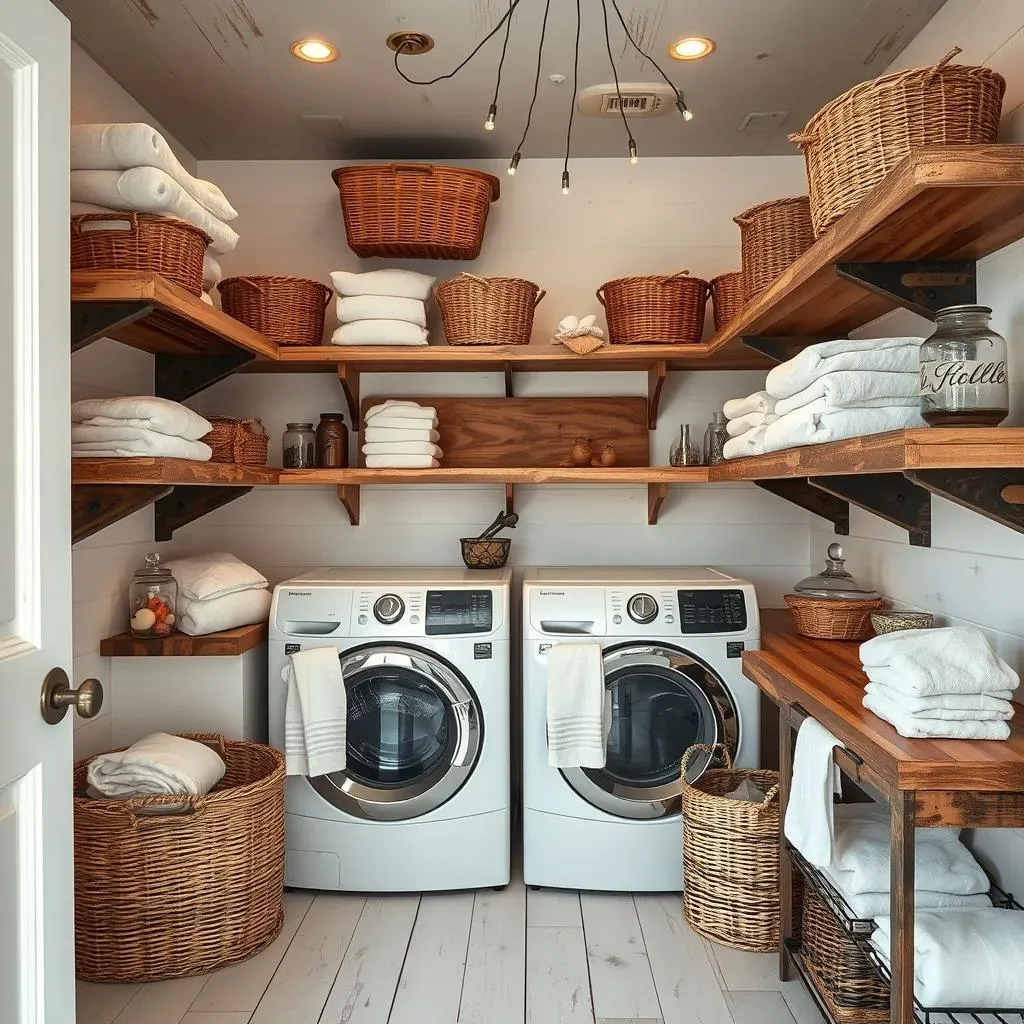
Okay, your **rustic laundry room shelves** are built, stained, and looking fantastic. Now comes the fun part: making them both beautiful and functional! Think about incorporating baskets and bins. Woven baskets add a lovely natural texture that complements the rustic vibe perfectly. They're also amazing for corralling clutter. Instead of having detergent bottles and dryer sheets just sitting out, tuck them neatly into a stylish basket. Canvas bins are another great option, especially for storing folded towels or smaller items. Consider using统一的标签 so you know what's inside each container without having to rummage through everything. Trust me, your future self will thank you.
I personally love using a mix of different textures and sizes of baskets. A large woven basket on the bottom shelf can hold bulkier items, while smaller metal or wire baskets work well for things like stain sticks or dryer balls. Don't be afraid to mix and match! The key is to choose containers that not only look good but also fit comfortably on your shelves and hold what you need them to.
Adding Decorative Touches with a Purpose
Now, let's talk about adding some personality to your **rustic laundry room shelves**. This is where you can really let your style shine. But remember, since it's a laundry room, try to choose decorative items that also serve a purpose, or at least don't get in the way of functionality. A vintage laundry sign or an antique-style scale can add a touch of charm without taking up too much space. Consider a pretty glass jar for storing laundry pods or clothespins. Even your everyday cleaning supplies can be part of the decor if you decant them into nice-looking bottles.
I found this amazing old laundry mirror at a flea market, and it was the perfect addition to my shelves. It not only looks cool but also helps to bounce light around the room, making the space feel brighter. Small potted plants or even some sprigs of dried eucalyptus can bring a touch of life to the laundry room. Just make sure they're in sturdy pots that won't easily tip over. Think about the overall color scheme of your laundry room and choose decorative items that complement it. A pop of color can be nice, but you also want everything to feel cohesive.
- Woven baskets for detergent and supplies
- Canvas bins for towels and linens
- Glass jars for laundry pods or clothespins
- Vintage laundry signs or mirrors
- Small potted plants or dried flowers
The Finishing Flourishes for Functional Style
Finally, think about those little finishing touches that can really elevate your **rustic laundry room shelves**. How about a cute little soap dish and hand lotion next to the sink? Or a stylish laundry hamper that coordinates with your shelves? Even the way you fold your towels can contribute to the overall look. Consider rolling them instead of folding them flat – it can look more spa-like and save space. If you have room, a small, decorative ladder leaning against the wall can be both functional for hanging damp clothes and visually interesting. The goal is to create a space that you actually enjoy being in, even if it's just for the chore of doing laundry.
For my laundry room, I swapped out the boring builder-grade ceiling light for a cool cage light fixture, which added another layer of rustic charm. Don't underestimate the power of good lighting! It can make a huge difference in how a space feels. And lastly, don't be afraid to rearrange things until you find a layout that you love. Play around with the placement of your baskets, decor, and supplies until it feels just right. Remember, your **rustic laundry room shelves** should not only look great but also make your laundry routine a little bit easier and more enjoyable.
